Preparing for Christmas
It’s been a long Autumn term. In fact, I’ve been back in school since August – preparing for a COVID safe teaching experience. But that’s not what this post is about. Fast forward to December, when I started to think about how I was going to wrap presents this year.
We have a Cricut Maker at school (something I covet and also got for Christmas this year). I wanted to use the Cricut to make custom stickers to make wrapping presents faster, and also fit within a set aesthetic (we have already established how extra I can be). So I decided to use Procreate to create everyone’s names, then turn them into stickers.
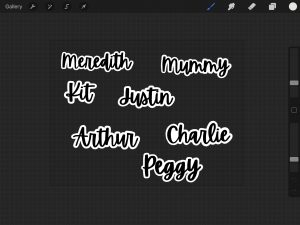
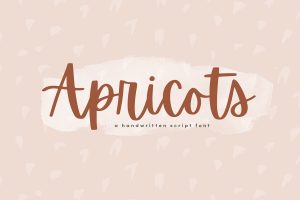
This was challenging, as my handwriting is frankly appaling and my inability to do any kind of fancy letting was going to seriously hinder this. So I went to Creative Market to find a font I liked that could do the job for me. After much searching, I chose one called Apricots.
Now I could enter the text into Procreate and create a white border around each word. I then exported this as a Jpeg, so I could upload it into Design Space.
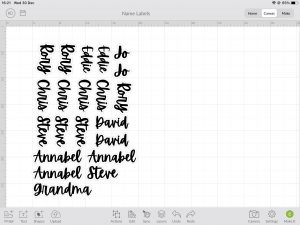
Now I love using the Cricut, I’ve been using digital cutting machines for a long time and the Cricut is one of the most versatile and easy machines I have used. However, Design Space is not in the same league. It is fiddly and annoying to use. I try to avoid using it until the last possible moment, instead using Illustrator or Procreate to prepare files first. So to arrange these name stickers, I created a rectangle the size of an A4 piece of paper and manually arranged the names inside. This enabled me to get a lot more stickers on a sheet, instead of letting Design Space do the arranging for me.
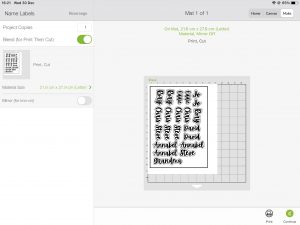
I then printed out the sticker sheets onto plain white sticker paper. I turned bleed off because the outside border was white, so it wasn’t needed. Once the sheets were printed, I loaded them into the Cricut and let the machine perform its magic. (Ok, so I let the machine detect the edge of the black box, and then cut out the different names).
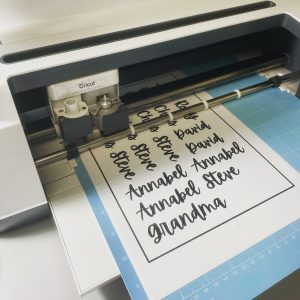
Once all the stickers were printed and cut, they could be applied to the presents as they were wrapped.
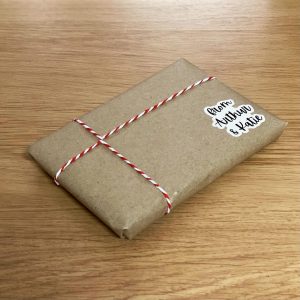
I went for a “brown paper packages tied up with string” aesthetic again, which I really like. Partly because I accidentally bought a much larger roll of brown paper last year (there is enough paper there for several years!) and partly because it’s all completely recyclable.
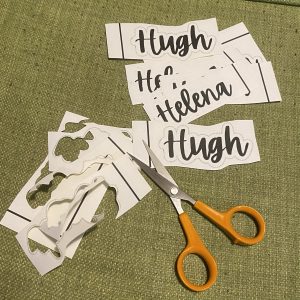
Unfortunately, I forgot to make one set of stickers, and as I didn’t have a Cricut at home (yet) I had to resort to good old fashioned scissors
Every Christmas I make mincemeat. Normally I make about 10 jars and give most of them away to friends and family. This year, I felt like being a little bit extra. I have been learning how to use the Adobe Suite of software this year. Mainly Illustrator and Premiere Pro. So I thought this would be the ideal opportunity to work on my Illustrator skills (or lack thereof!) and make fancy labels for my jars!
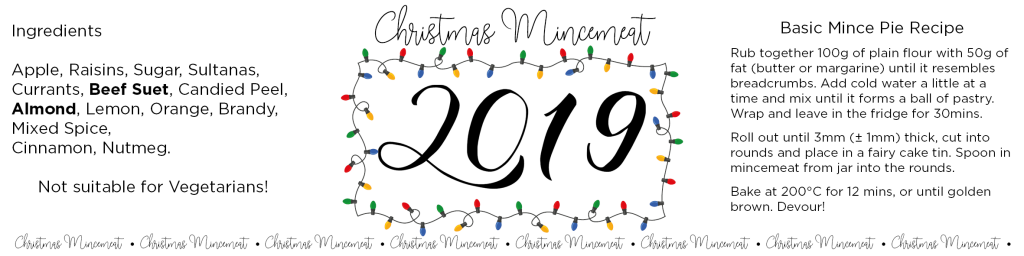
First the mincemeat recipe! I always use a Delia recipe, which has never failed me. The quantity perfectly fits 10 mini jars from Lakeland. They are 8oz jars, and Kilner does some nice ones as well. Conveniently, each mini jars holds enough mincemeat to make 12 mince pies (made in a standard fairy cake tin). It takes a weekend to make. I prep the ingredients on Saturday evening and leave them overnight, then Sunday the bowl is in the oven for a few hours. So make sure you factor in enough time!
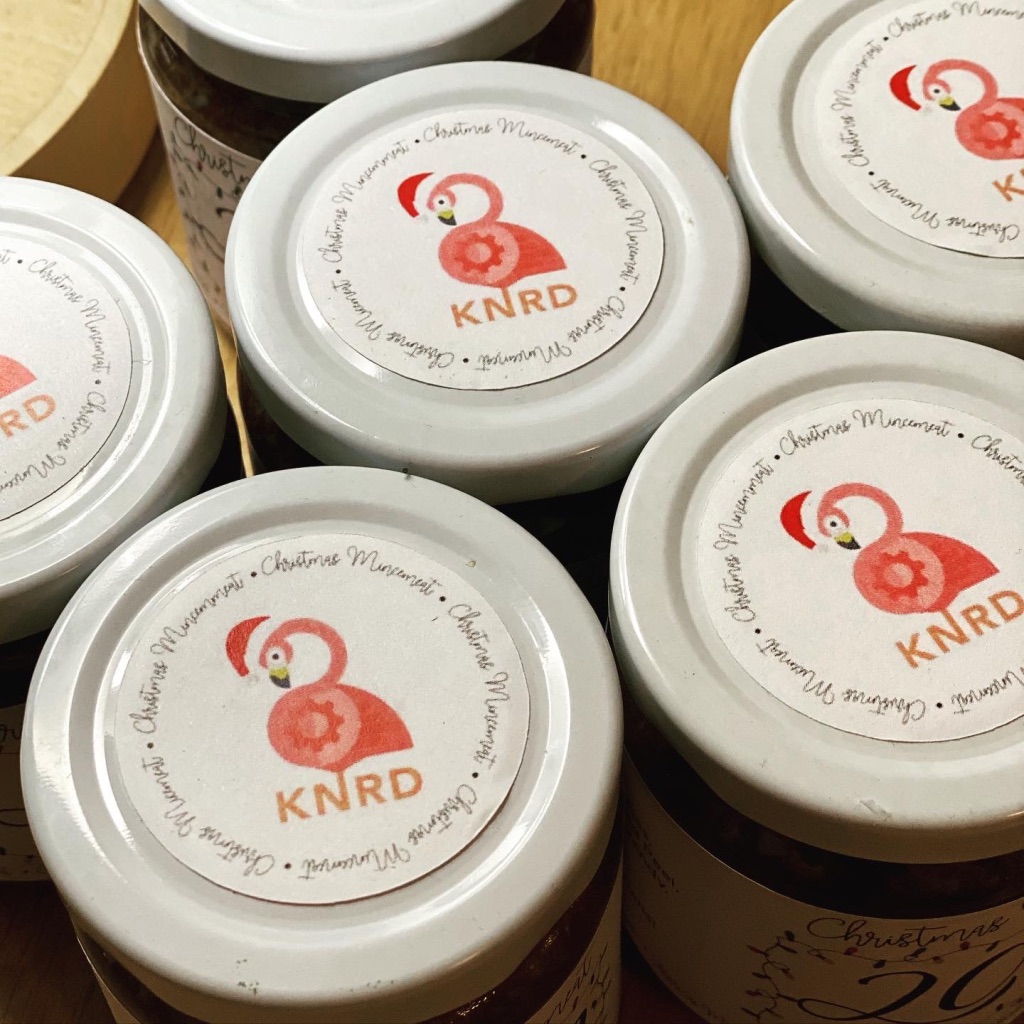
I wanted to create a label for the top of the jar with a Christmassy version of my Flamingo Logo.
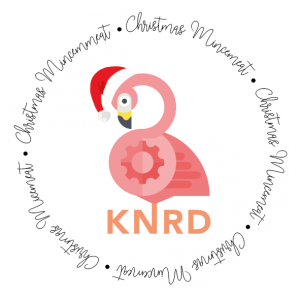
After a bit of fiddling with adding text in a circle, the label for the lid was complete. The wrap-around label for the jar was much more complicated, as I wanted to add fairy lights and a mince pie recipe. So I decided to use InDesign. Several frustrating hours later (spread over a few days) and quite a bit of googling, I came up with this.
Now I had to work out how to print and then cut them out. I could just use scissors, but we’ve recently bought a Cricut Maker at school and I knew it had a print and cut feature. After quite a bit of trial and error, I worked out how to print out a PDF of my design and send it to cut on the Cricut.
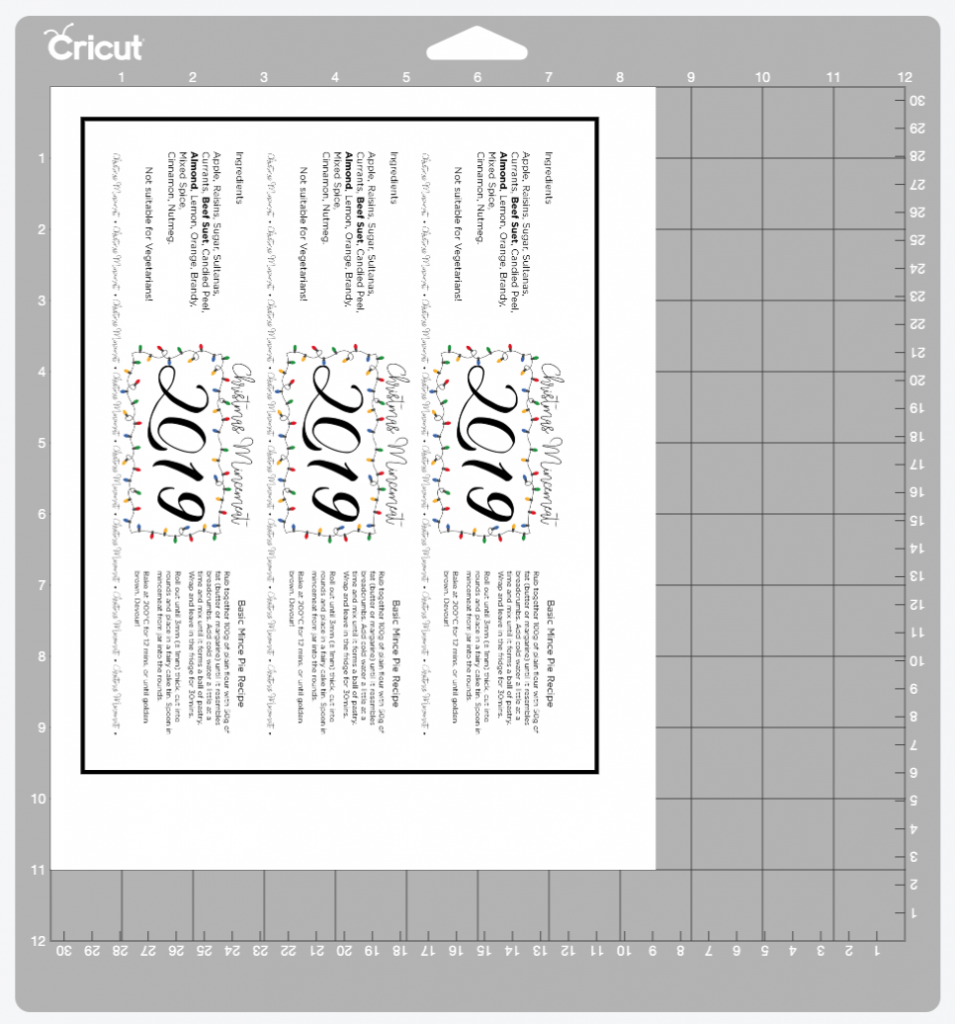
It worked very well, although I do need to work on the bleed at the edges of the design (the circular labels didn’t fair as well).

The finished jars look very professional and the jar tops, with my logo, look amazing! Now that I have the basic template it should be much faster to make labels again next year.
-
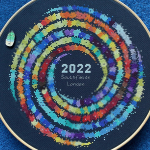
A 2022 Embroidery Challenge
4 February 2023
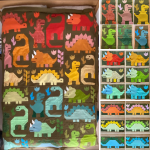
I’ve been watching people making temperature quilts on social media for a few years and really liked the idea of making one. But I knew I would struggle to carry such a large project through to the end, plus the idea of knitting a blanket in the heat of summer wasn’t that appealing. Then I […]
-
Little Life Update
3 February 2023
I finally caught COVID, and while I am curled up on my sofa feeling sorry for myself, I thought I would check through things. I realised that I haven’t written anything on this blog for ages (gulp April 2021) and so much has happened! The problem is that Instagram is so much quicker and easier […]
-

Alison Glass Lumen Quilt
19 April 2021
In which I attempt to make a giant quilt, for the first time!
-
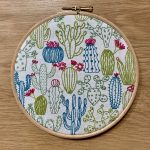
Cactus Embroidery – Slow Sewing
6 February 2021
It’s taken just over a year, but this embroidery is finally finished!
-
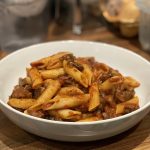
Mushroom Ragu – Vegan and Delicious!
1 January 2021
It's new year's day and I'm making Mushroom Ragu.
-
A 2022 Embroidery Challenge
4 February 2023
I’ve been watching people making temperature quilts on social media for a few years and really liked the idea of making one. But I knew I would struggle to carry such a large project through to the end, plus the idea of knitting a blanket in the heat of summer wasn’t that appealing. Then I […]
-
Little Life Update
3 February 2023
I finally caught COVID, and while I am curled up on my sofa feeling sorry for myself, I thought I would check through things. I realised that I haven’t written anything on this blog for ages (gulp April 2021) and so much has happened! The problem is that Instagram is so much quicker and easier […]
-
Alison Glass Lumen Quilt
19 April 2021
In which I attempt to make a giant quilt, for the first time!
-
Cactus Embroidery – Slow Sewing
6 February 2021
It’s taken just over a year, but this embroidery is finally finished!
-
Mushroom Ragu – Vegan and Delicious!
1 January 2021
It's new year's day and I'm making Mushroom Ragu.