Coffee Cupcakes
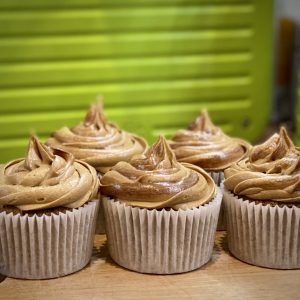
To continue the birthday theme, I also made coffee cupcakes with coffee buttercream icing. I also wanted to make this dairy-free, but this proved to be more challenging because Pure Margerine is quite watery and so I had to adapt the recipe to make a good consistency buttercream. The boyfriend offered to pipe the icing on and added an extra swirl of coffee.
I think they look quite good!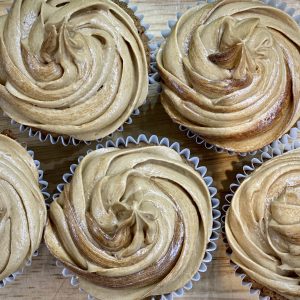
Dairy-Free Coffee Cupcakes
Equipment
- cupcake tin
- cupcake cases
- (optional) piping bag and nozzle
Ingredients
Coffee Cupcakes
- 165 g Pure Margarine
- 165 g Soft Brown Sugar
- 150 g Self Raising Flour
- 3 medium Eggs
- 1 ½ tsp Oat Milk or another dairy-free milk
- 1 pinch Salt
- 2 tbsp Instant Coffee Granules
Coffee Buttercream
- 400 g Icing Sugar
- 100 g Pure Margarine
- 3 tbsp Instant Coffee Granules
- 1 ½ tbsp Boiling Water
Instructions
Coffee Cupcakes
- Preheat the oven to 160°c (140°c fan oven)
- Use a pestle and mortar (or rolling pin) to grind the coffee granules to a reasonably fine powder. Put to one side.
- Cream the margarine and sugar together until pale and fluffy.
- Add ⅓ of the egg and a spoon of flour and mix in. Continue adding the egg and flour until it is all mixed in.
- Add the remaining cupcake ingredients (coffee powder, salt and milk) and mix in.
- Place cupcake cases into a cupcake tin. Then spoon the mixture into the cases, the cases should be ⅔ full.
- Bake in the oven for 20 mins. Check the cakes are cooked through with a cake tester (or cocktail stick).
- Place the cakes on a rack to cool down. Do not ice the cakes when warm! The icing will melt.
Coffee Buttercream
- Mix the coffee granules and boiling water together to make a very thick coffee paste, it will be quite sticky! Leave to cool.
- Beat the icing sugar and margarine together until well mixed and fluffy.
- Add the cooled coffee paste and mix in well.
- You should have quite a firm buttercream, if not then mix in some more icing sugar.
- Pipe the buttercream onto the cupcakes (make sure they are cool). If you want a coffee swirl then add a stripe of the coffee paste into the piping bag before you add the buttercream.
These cupcakes have a lovely strong coffee taste!
Today is my boyfriend’s birthday. He loves Italian food (well, to be perfectly honest he just loves food). So for his birthday, I wanted to make him tiramisu for dessert. However, he has a serious dairy allergy, so I had to get creative!
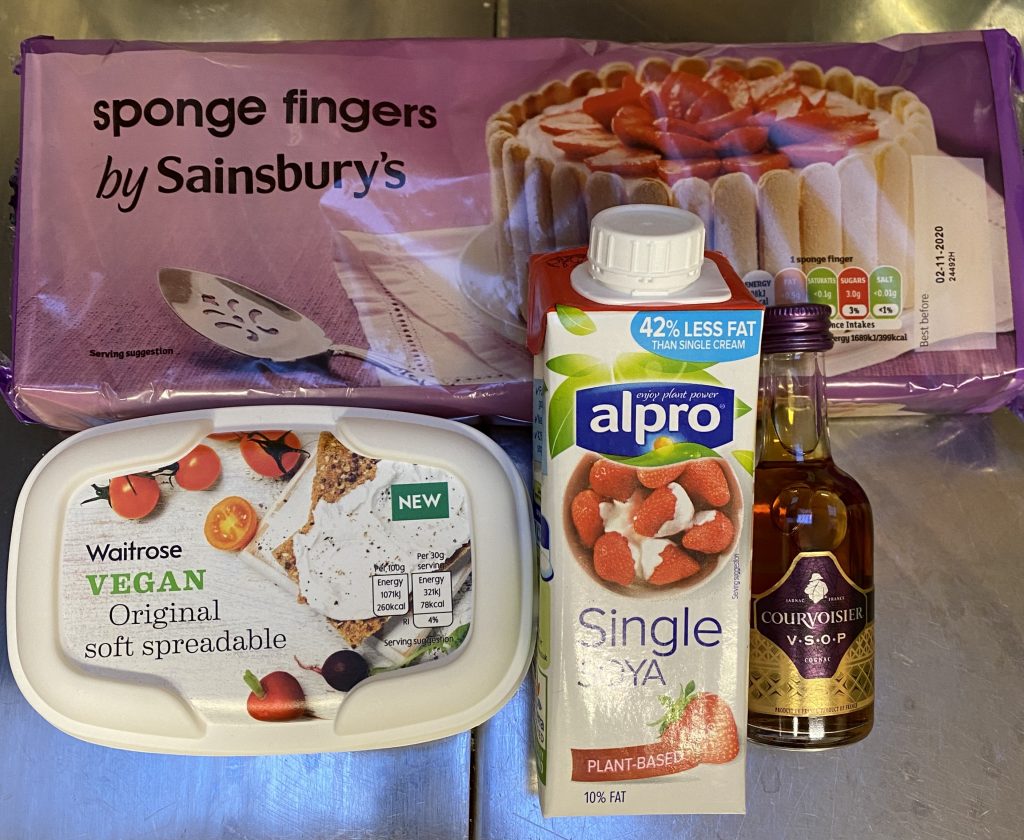
Sainsbury’s sponge fingers are dairy-free (unlike those in most other supermarkets) and I found coconut milk cream cheese and soya cream in Waitrose. He can’t have things that “may contain milk”, so I need to be extra careful.
Dairy-Free Tiramisu
Equipment
- Rectangular Dish
- Whisk
- Shallow Bowl
Ingredients
- 170 g Vegan Cream Cheese
- 60 g Caster Sugar
- 100 ml Soya Cream
- 1 Pack Sponge Fingers
- 1 Cup Strong Coffee cooled
- Mini Bottle Cognac
- 1 Pack Dairy-Free Dark Chocolate or Cocoa Powder
Instructions
- Whip the cream cheese, sugar and soya cream together.
- Add a splash of cognac and mix well.
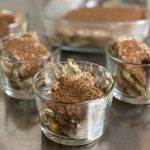
- In a shallow bowl, pour some strong coffee and add a splash of cognac. Dip a sponge finger in this mixture then put the slightly soggy sponge finger into a Pyrex dish.
- Repeat this until the base of the dish is covered in a layer of sponge fingers (you may need to top up your coffee/cognac mix).
- Spread half of the cream cheese mixture over the sponge finger layer.
- Make another layer of soaked sponge fingers and top with the other half of the cream mixture.
- Grate over a generous layer of chocolate.
- Cover and refrigerate for 2-4 hours.
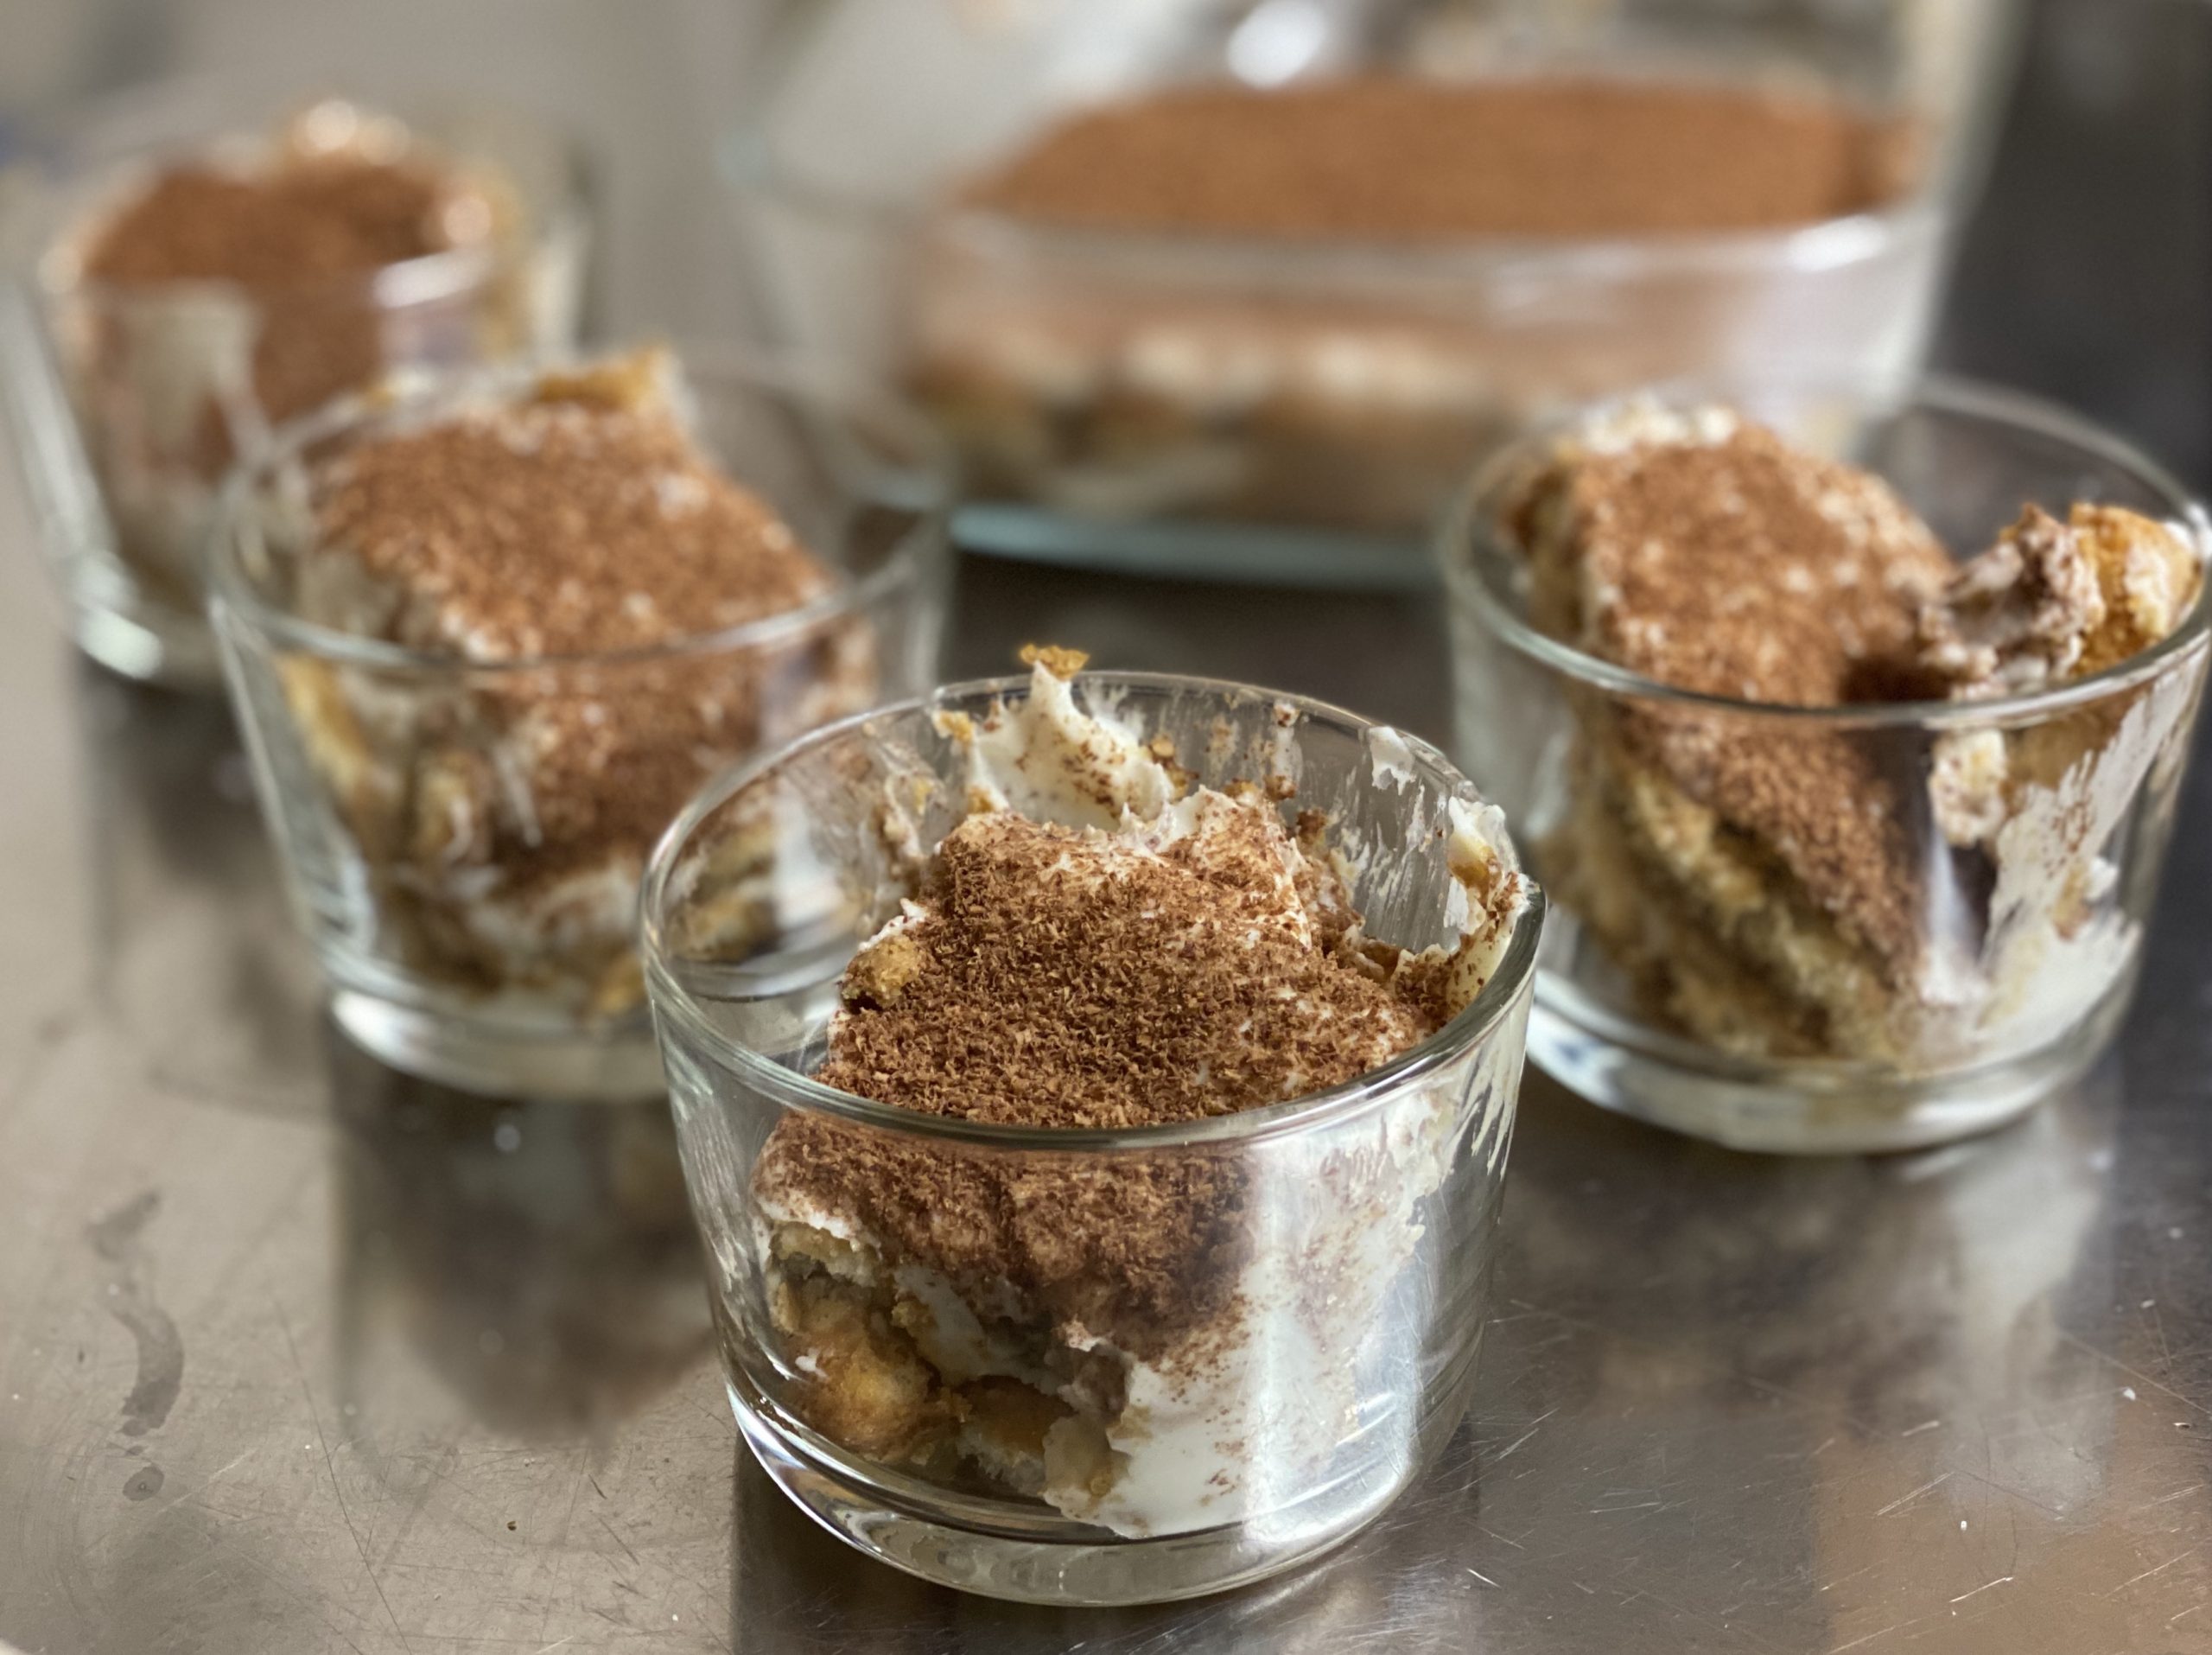
The tiramisu was a huge hit! I wonder what I’ll make for him next year?
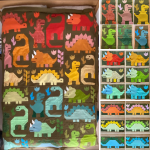
Today I was the chosen adult to accompany my teenage daughter and her friends to Hyper Japan. I was happy to go, as I was hoping to find some Washi tape for my planner. The girls had put together some fantastic cosplay outfits, but they don’t want their pictures to appear on the blog, so you’ll have to imagine Pokemon Trainers and Attack on Titan outfits.

Most of my day was spent eating (very tasty) food:

While the teenagers went round every single stall buying a wide variety of anime-related things and plushies and taking pictures of some spectacular cosplay. I hunted everywhere for Washi tape, but there wasn’t a very good selection. I ended up buying 3 rolls.

They look really cute and will be perfect to use in my planner to mark school holidays.

It has been ridiculously hot recently and so my normal caffeine fix has been too hot to drink. So I went scouring the internet for a recipe for Iced Coffee (as it is far too expensive to keep my coffee fix in hand by buying iced coffee in Starbucks etc.).
After converting, experimenting and tweaking I have finally settled on a recipe I like. So I thought you might like a copy as well. There is a recipe summary at the end.

To make it you need to start preparations a day in advance. Find a jar or plastic container that can hold a litre of water. I used an EasiYo yoghurt maker jar. Put 70g of coffee grounds in the jar and fill up with about a litre of cold water. Screw the lid on tightly and give it a good shake. Leave this to stand and infuse for about 12 hours.


Now you are ready to make iced coffee.
Put 4oz of coffee concentrate in a pint glass (or jar – if you want to take it travelling! Mine survived a 40min drive in a hot car in a Kilner jar) and top up with 4oz of milk. You can change these quantities, but make sure the coffee and milk are equal. Add some sugar (I normally have one tsp of sugar in my coffee, but found that this needed two). Give it a good stir and add in lots of ice cubes. Drink through a straw.

If you don’t drink too much, then the coffee concentrate should keep in the fridge for a week (or more), but I drank all mine in 2 days!
Iced Coffee
Equipment
- 1-litre sealable container
- Coffee Filters
- Sieve
- Jug
- Funnel (optional, but makes life easier)
- 1-litre Storage Jar for the fridge
- Travel Container to take your Iced Coffee in.
Ingredients
Coffee Concentrate
- 70 g Ground Coffee
- 900 ml Water
Iced Coffee
- 4 oz Coffee Concentrate
- 4 oz Milk Any Type
- Sugar To Taste
- Ice Cubes
Instructions
Coffee Concentrate
- Place grounds and water in a 1litre jar, seal and shake. Leave for 12 hours.
- Pour coffee mixture through coffee filter paper and sieve into a jar, seal and store in the fridge.
Iced Coffee
- Put coffee, milk and sugar (if needed) into a travel container (I use a Kilner jar)
- Add ice until the container is full.
- Either take with you or drink straight away.
-

A 2022 Embroidery Challenge
4 February 2023
I’ve been watching people making temperature quilts on social media for a few years and really liked the idea of making one. But I knew I would struggle to carry such a large project through to the end, plus the idea of knitting a blanket in the heat of summer wasn’t that appealing. Then I […]
-
Little Life Update
3 February 2023
I finally caught COVID, and while I am curled up on my sofa feeling sorry for myself, I thought I would check through things. I realised that I haven’t written anything on this blog for ages (gulp April 2021) and so much has happened! The problem is that Instagram is so much quicker and easier […]
-

Alison Glass Lumen Quilt
19 April 2021
In which I attempt to make a giant quilt, for the first time!
-

Cactus Embroidery – Slow Sewing
6 February 2021
It’s taken just over a year, but this embroidery is finally finished!
-

Mushroom Ragu – Vegan and Delicious!
1 January 2021
It's new year's day and I'm making Mushroom Ragu.
-
A 2022 Embroidery Challenge
4 February 2023
I’ve been watching people making temperature quilts on social media for a few years and really liked the idea of making one. But I knew I would struggle to carry such a large project through to the end, plus the idea of knitting a blanket in the heat of summer wasn’t that appealing. Then I […]
-
Little Life Update
3 February 2023
I finally caught COVID, and while I am curled up on my sofa feeling sorry for myself, I thought I would check through things. I realised that I haven’t written anything on this blog for ages (gulp April 2021) and so much has happened! The problem is that Instagram is so much quicker and easier […]
-
Alison Glass Lumen Quilt
19 April 2021
In which I attempt to make a giant quilt, for the first time!
-
Cactus Embroidery – Slow Sewing
6 February 2021
It’s taken just over a year, but this embroidery is finally finished!
-
Mushroom Ragu – Vegan and Delicious!
1 January 2021
It's new year's day and I'm making Mushroom Ragu.