Ombré Nails
As I am currently not allowed to use any of the machines in my workshop (due to the cocktail of painkillers I am currently on), it means I can paint my nails without the risk of them being destroyed in a day.
I thought that ‘nail art’ might also be considered ‘making something’, so I am including it on this blog.
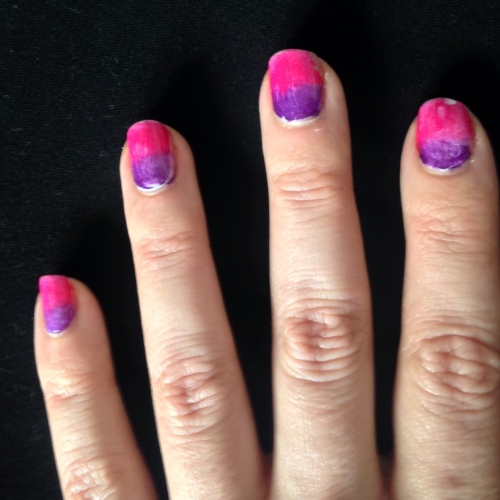
This week I tried out an ombré nail technique I saw on Pinterest. It ended up looking like this (do bear in mind that this photo was taken 7 days after I did it – so I think it lasted quite well).
This technique did take quite a while to do. You need to prepare your nails with the normal base coat and then enough layers of white nail polish to make an even base. Make sure this is totally dry.
I used my Nails Inc polish for the colour mixing.
You will also need a cosmetic sponge wedge.
Paint two thick stripes of polish on the sponge. Then you roll the sponge across your dry white nail and leave to dry. (Your finger will also be coated in polish, but you can easily get it off with nail varnish remover and a cotton bud).
When this is dry apply two coats of topcoat.
I think it looks quite effective, when I try it next I will use more coloured stripes to get a more graduated colour change.


