 Sewing
Kitchen Aid Cover
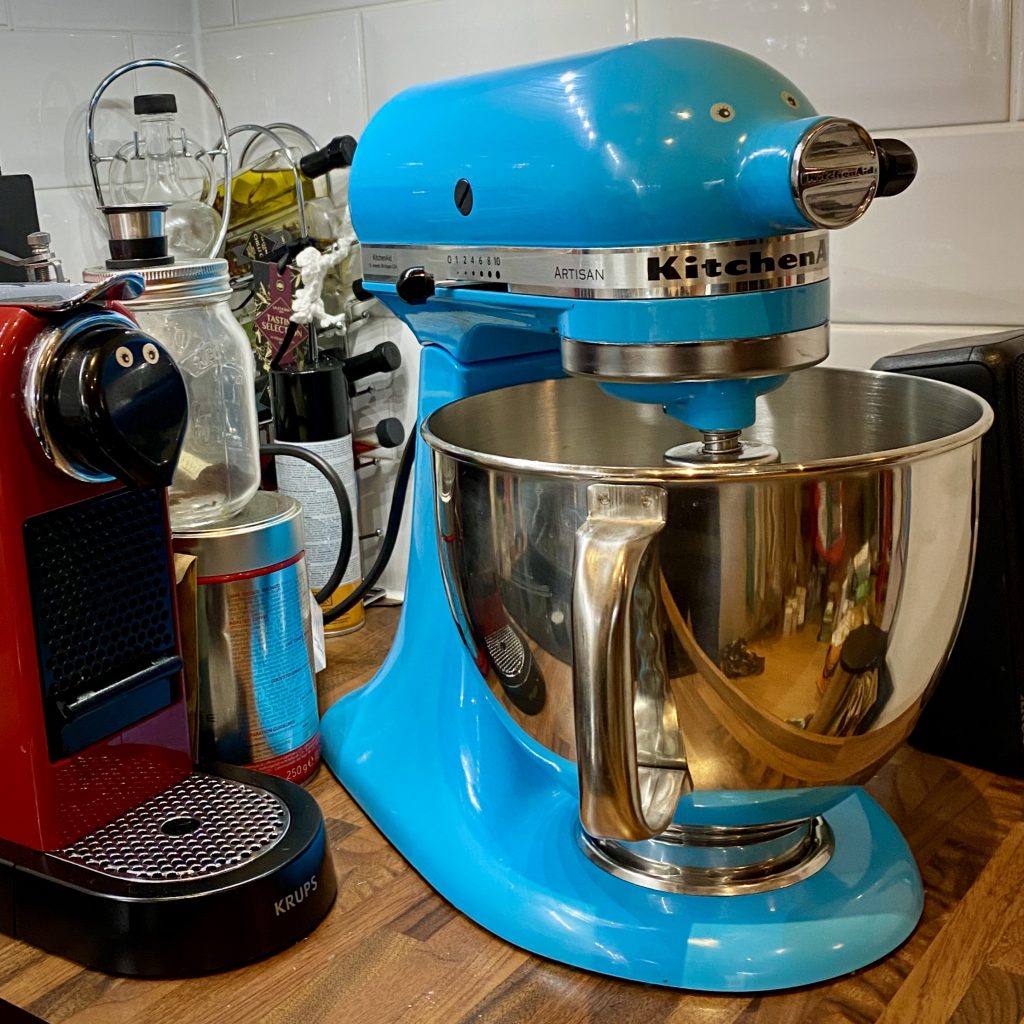
I always thought that I would finally be a “proper grown-up” when I owned a KitchenAid mixer. Then back in 2015 I finally decided to buy one for myself. I love it! I use is for all of my baking.
But my poor KitchenAid sits on the side of my very small kitchen. Due to its proximity to the hob, it’s been getting quite greasy.
I also wanted to take part in the #makenine challenge this year, which is to challenge yourself to make nine things over the course of 2020. I thought I would start by making a cover for my KitchenAid.
I decided to make a quilted cover, but as I’ve never quilted anything before it was going to be a challenge!
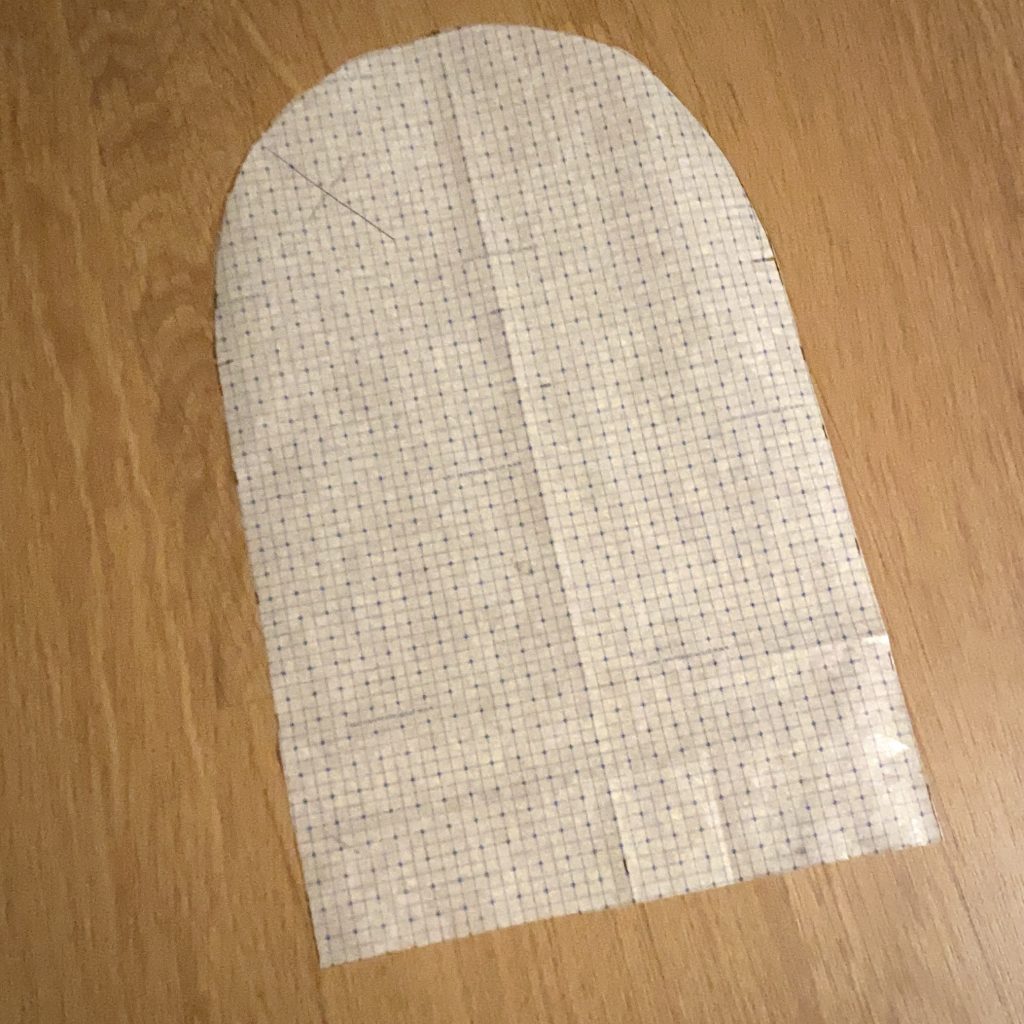
I started by drafting the front of the cover and then cut out the fabric and wadding.
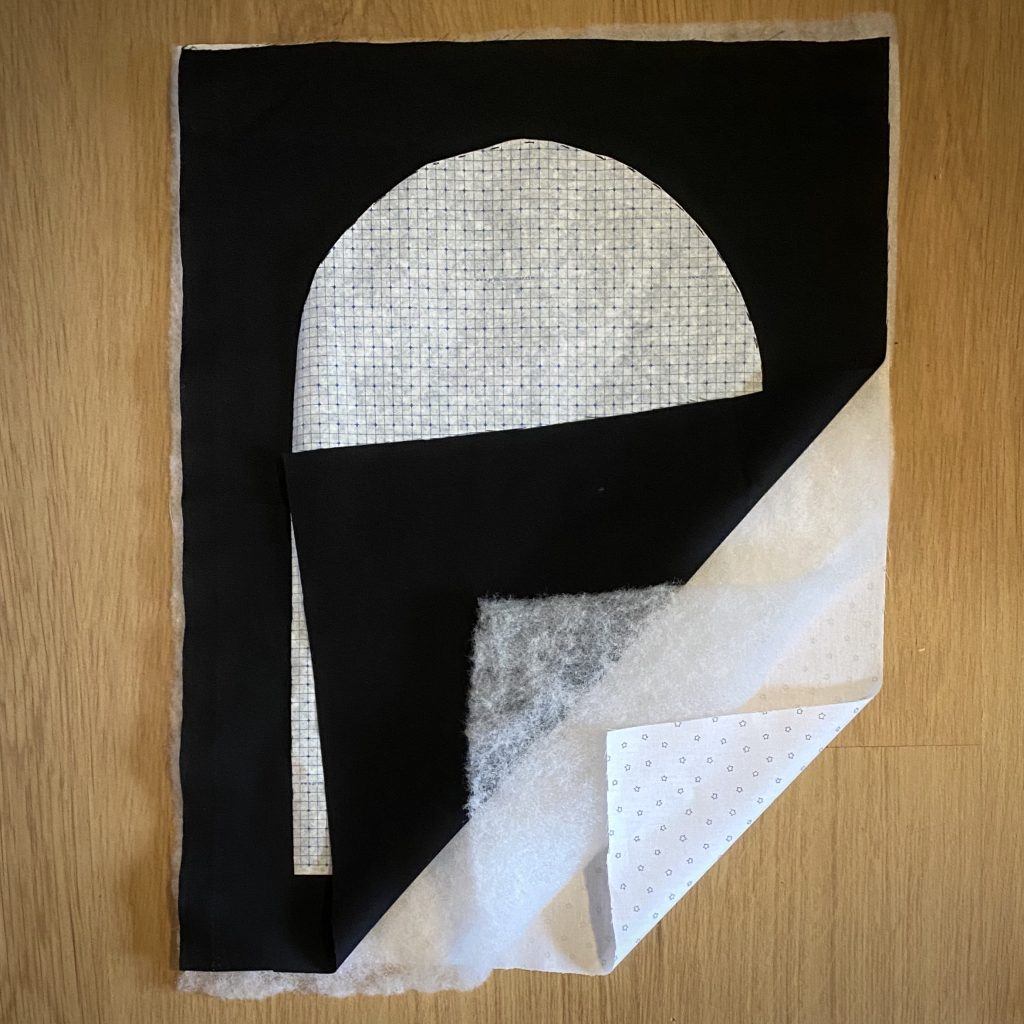
I cut the fabric bigger than the pattern, so that I had space to quilt as I suspected that the fabric would shrink.
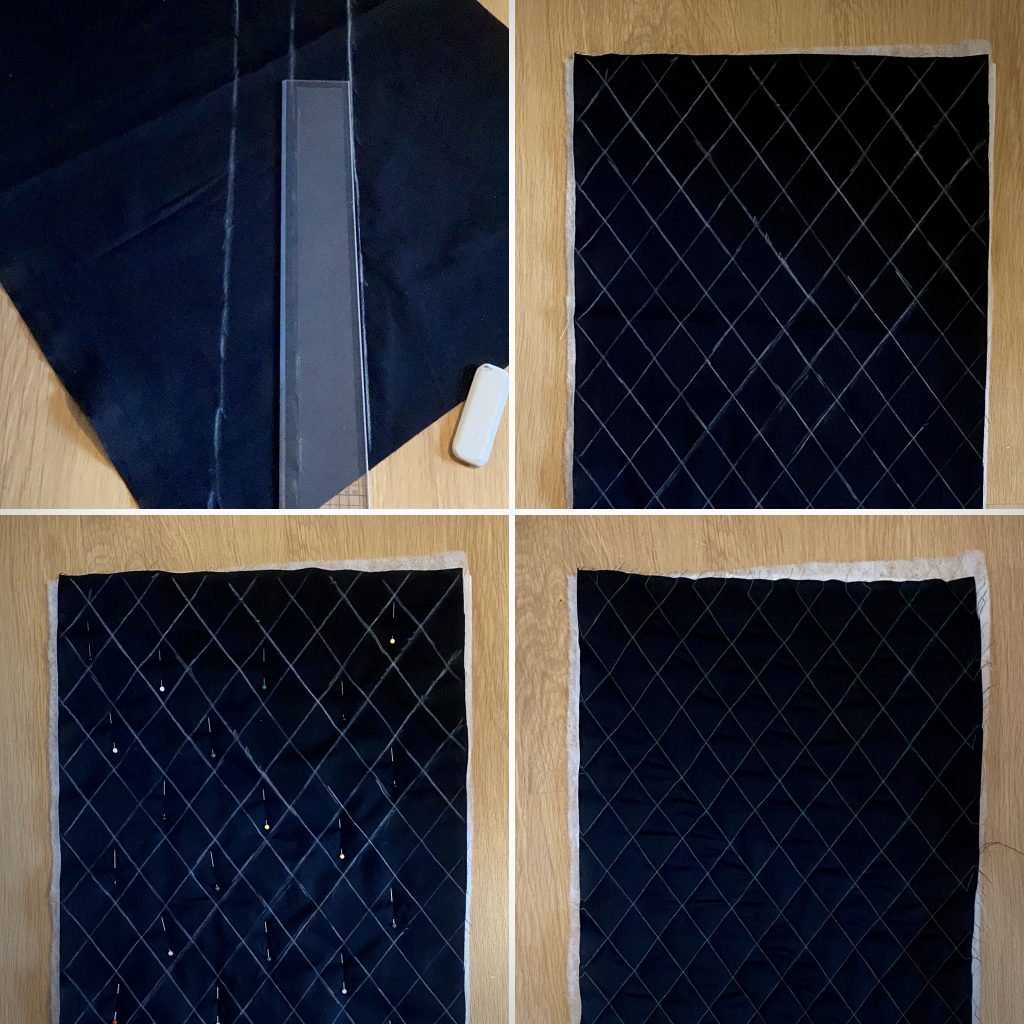
I then used tailors chalk to mark out the quilting lines and pinned the 3 layers together. I then sewed the quilting lines.
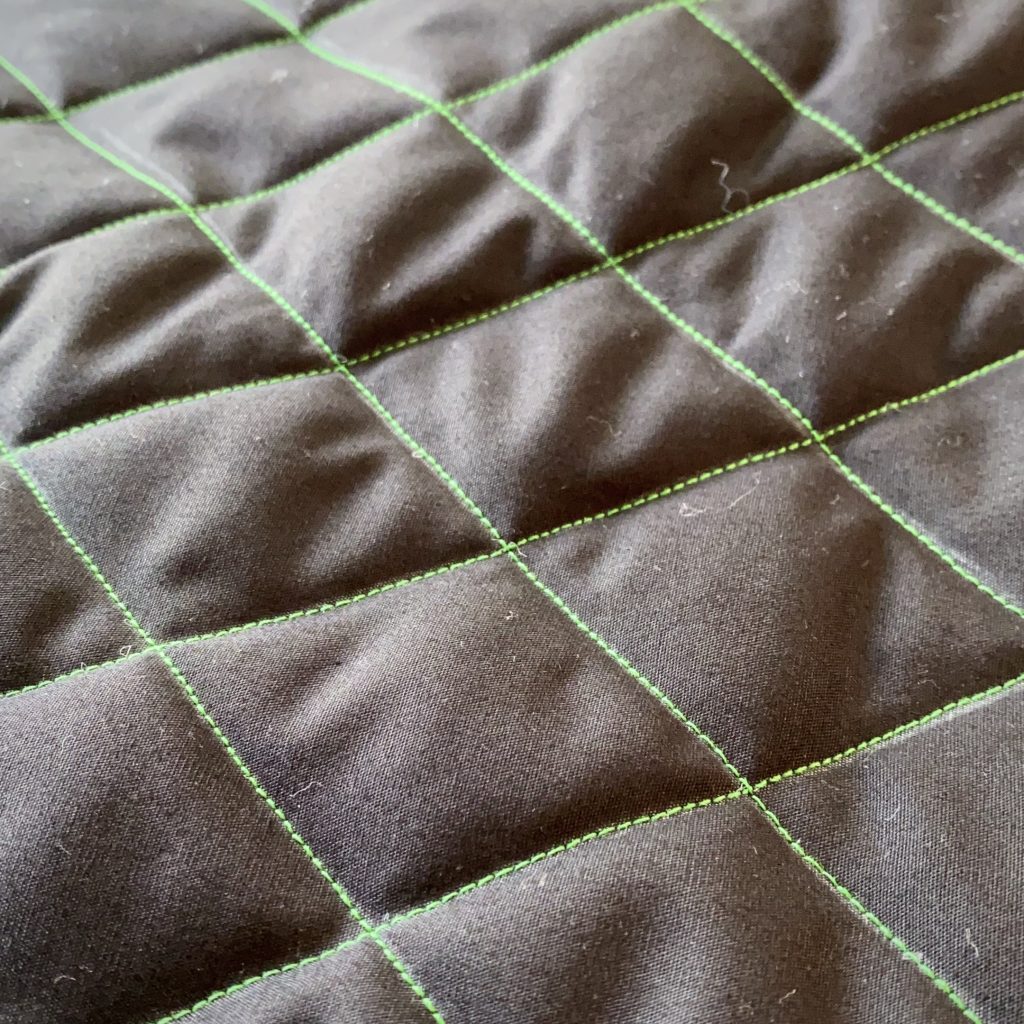
The final quilted piece looked amazing! I really liked the green thread on the black fabric. I repeated this process on the back piece and a rectangular piece that would make the top and sides. After cutting out the shaped pattern pieces I could pin it all together and see the edges.
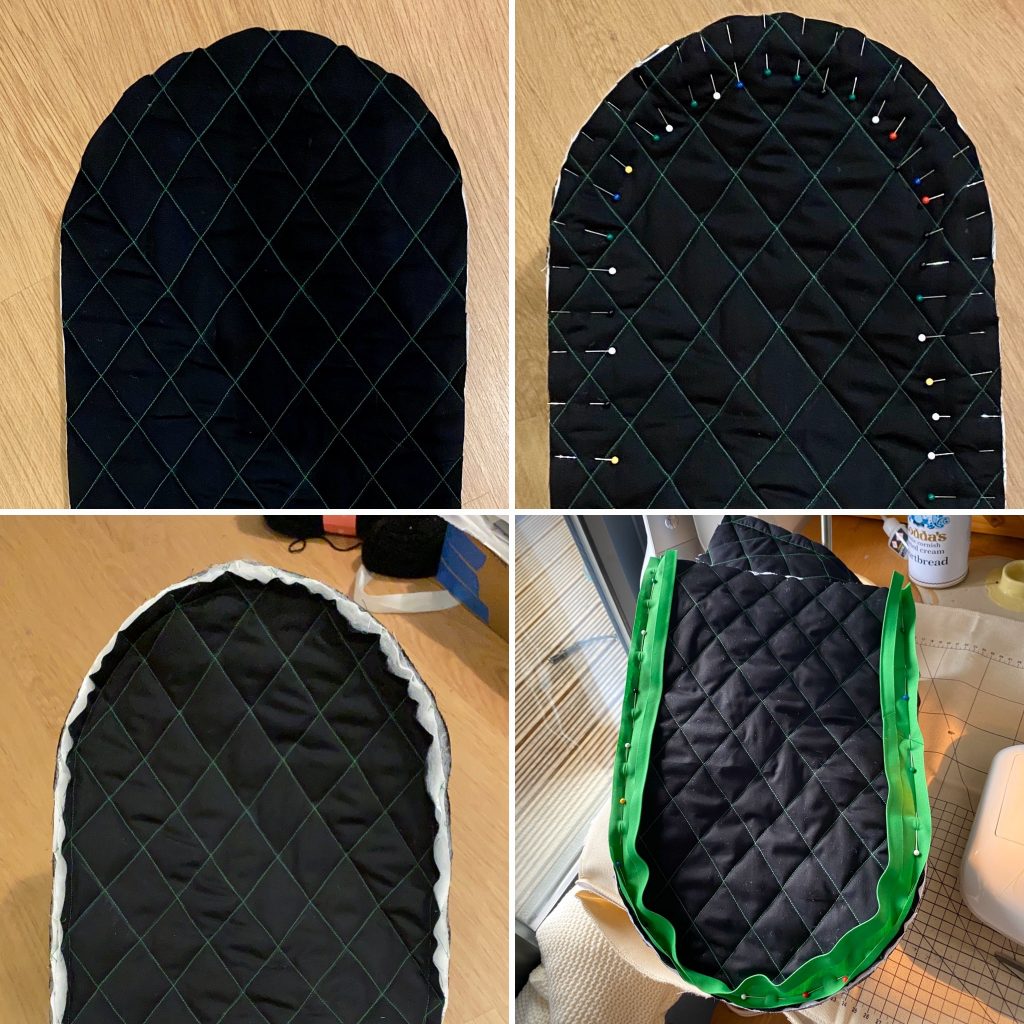
I decided to finish the edges with bias binding, which involved a lot of hand sewing!
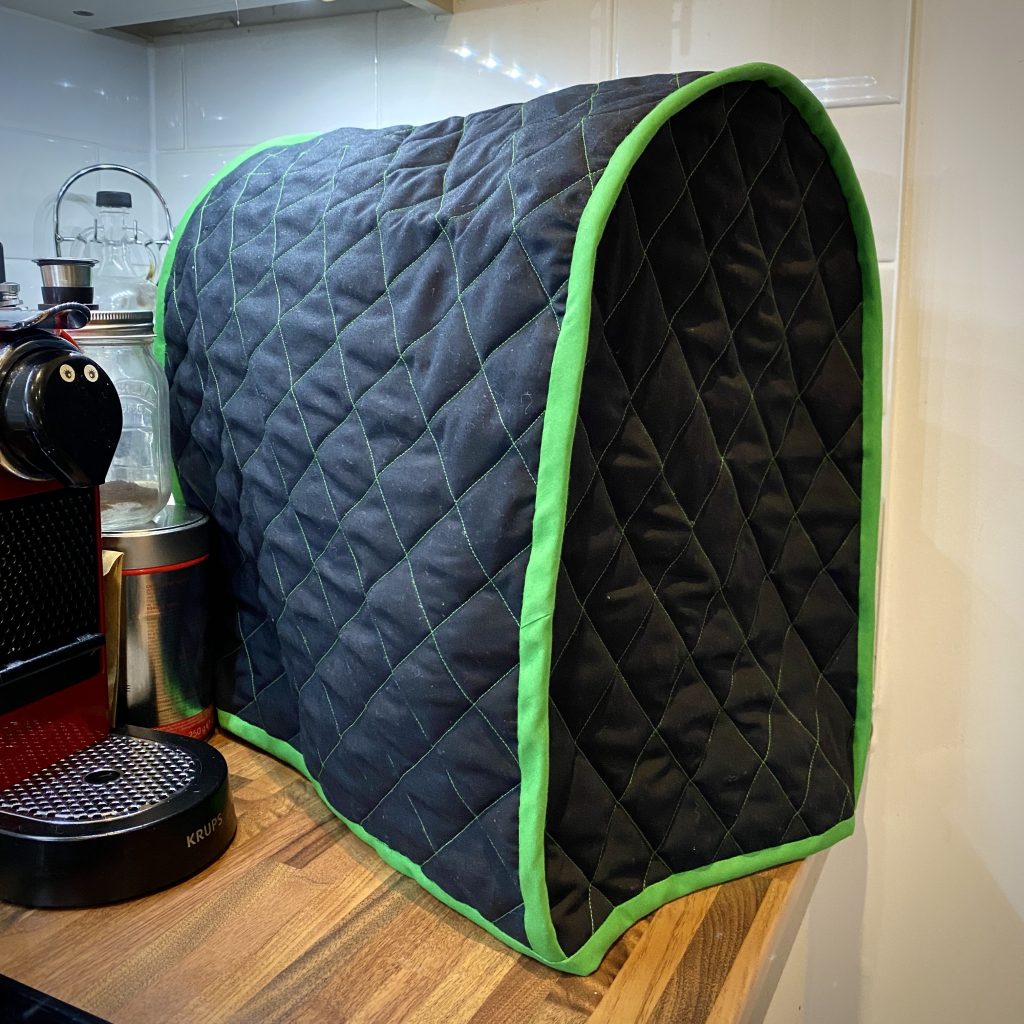
The finished cover fits perfectly! And looks great in my kitchen. One down on the #makenine nine to go.