 Cooking
Icing a Christmas Cake
About a month ago I made a Delia Christmas cake (yes, I know, I am obsessed with Delia’s Christmas recipes – but they just work!). If you want to make your own next year, then you can see her recipe here. I need my house to be dairy-free (due to an allergic boyfriend and an intolerant child) so I replace the butter with Pure Dairy Free Spread, or as my mother would say “marg”.
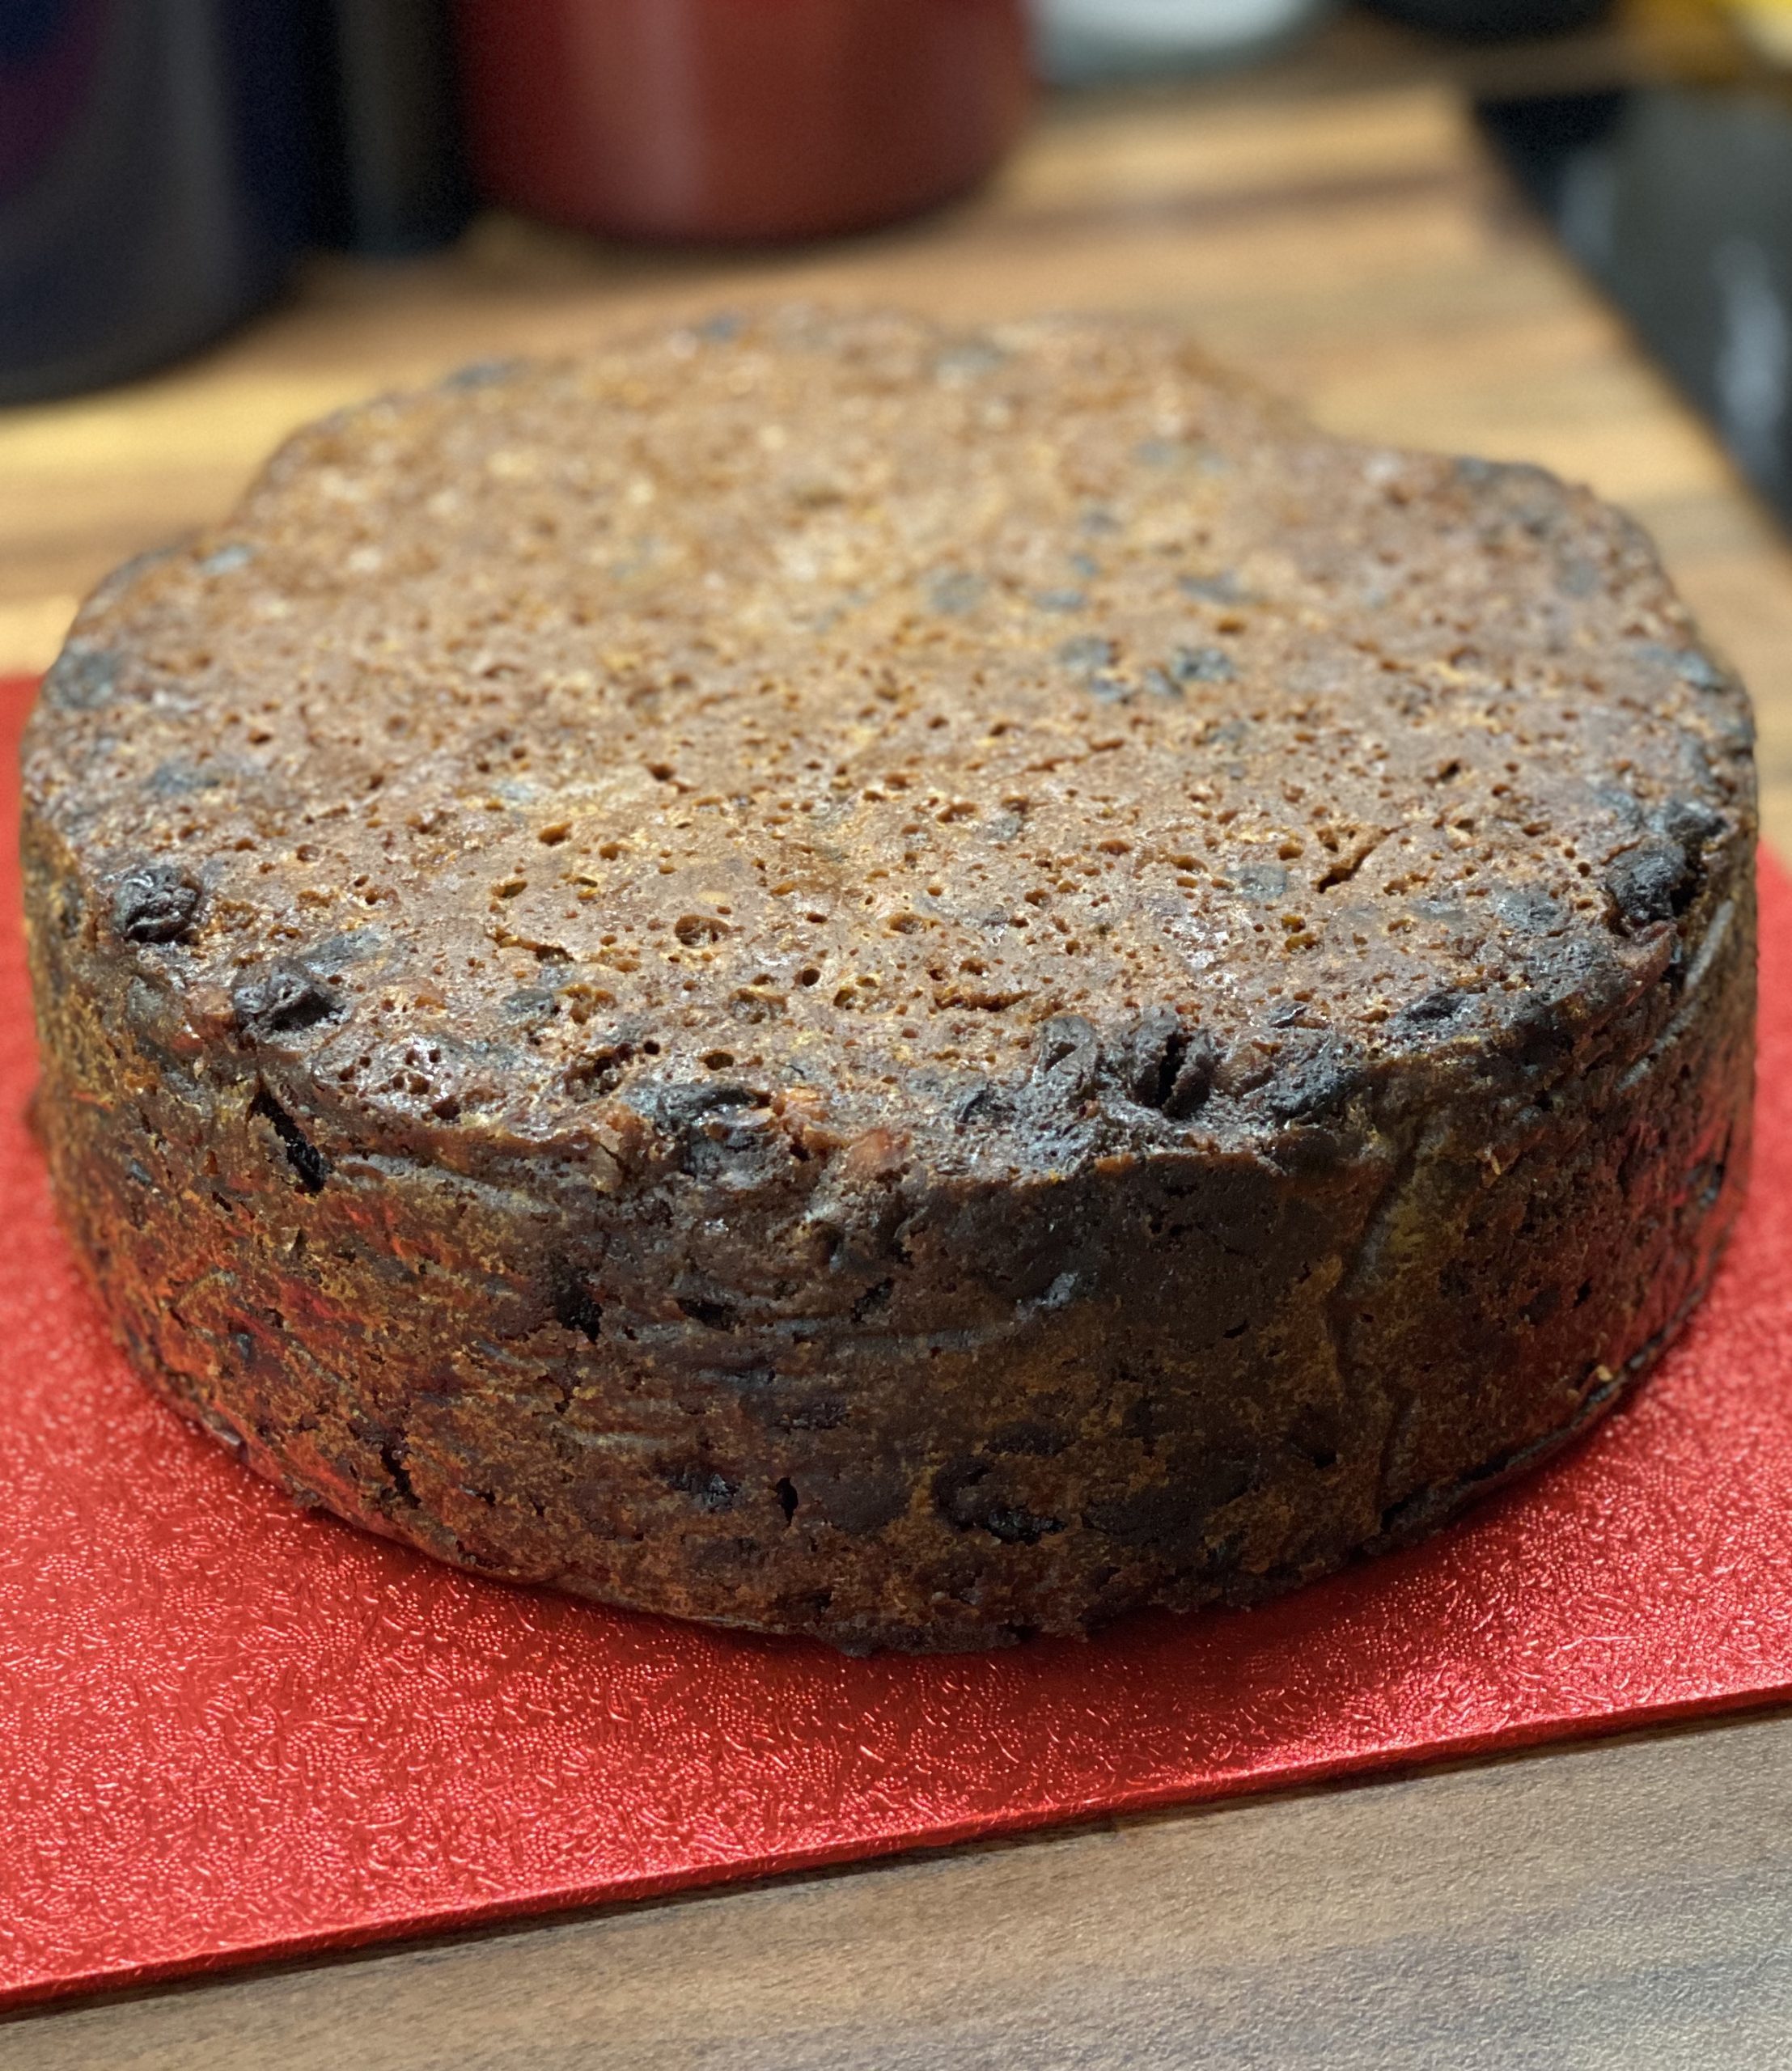
Once a week since making it, I have been feeding the cake with brandy. This involves spooning copious amount of brandy over the top of the cake and let it soak through some carefully placed holes (or in my case, spaces where I stabbed the cake with a knife).
But today was the day to decorate it. I have a tiny kitchen and a limited range of kitchen equipment. So my decorating methods are a little unorthodox. First I gathered my equipment.
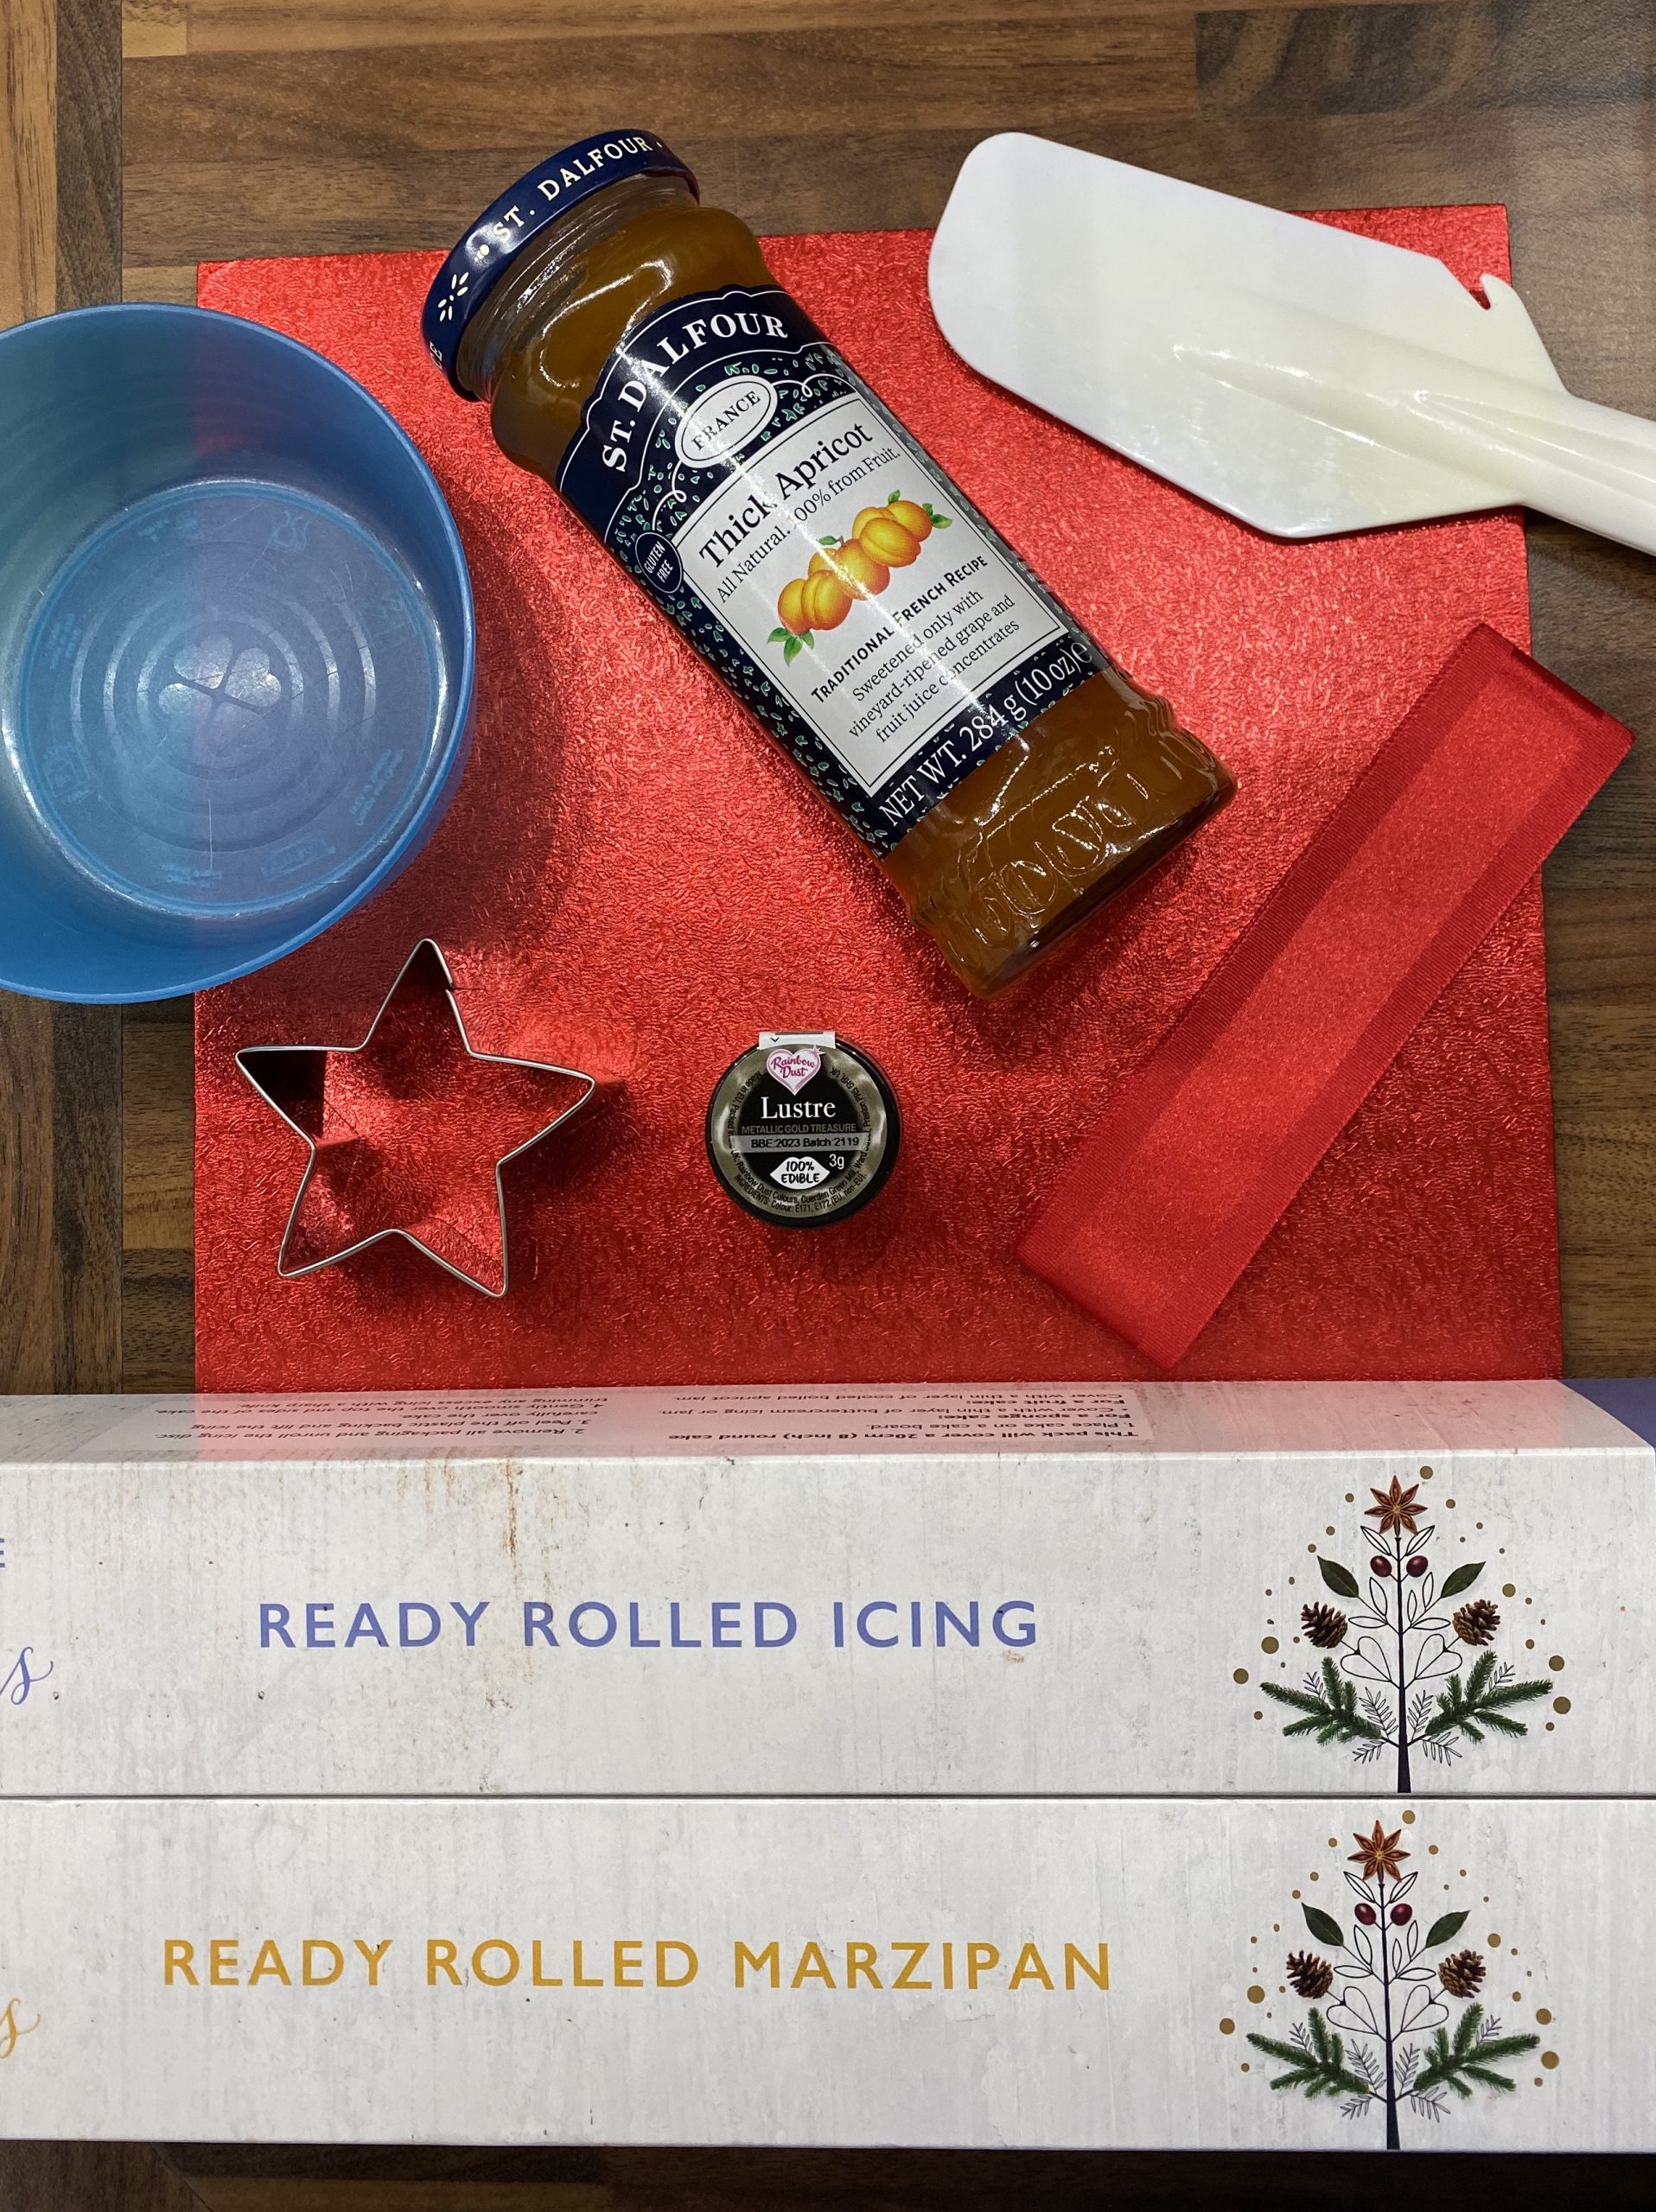
- A cake board (I got mine from Waitrose and it came with a ribbon to go round the cake)
- Good quality apricot jam, with a microwavable bowl and something to spread it with.
- Ready rolled icing and marzipan (my kitchen counter has limited space, and from previous experience trying to roll out my own is usually a bit of a disaster).
- A star-shaped cutter.
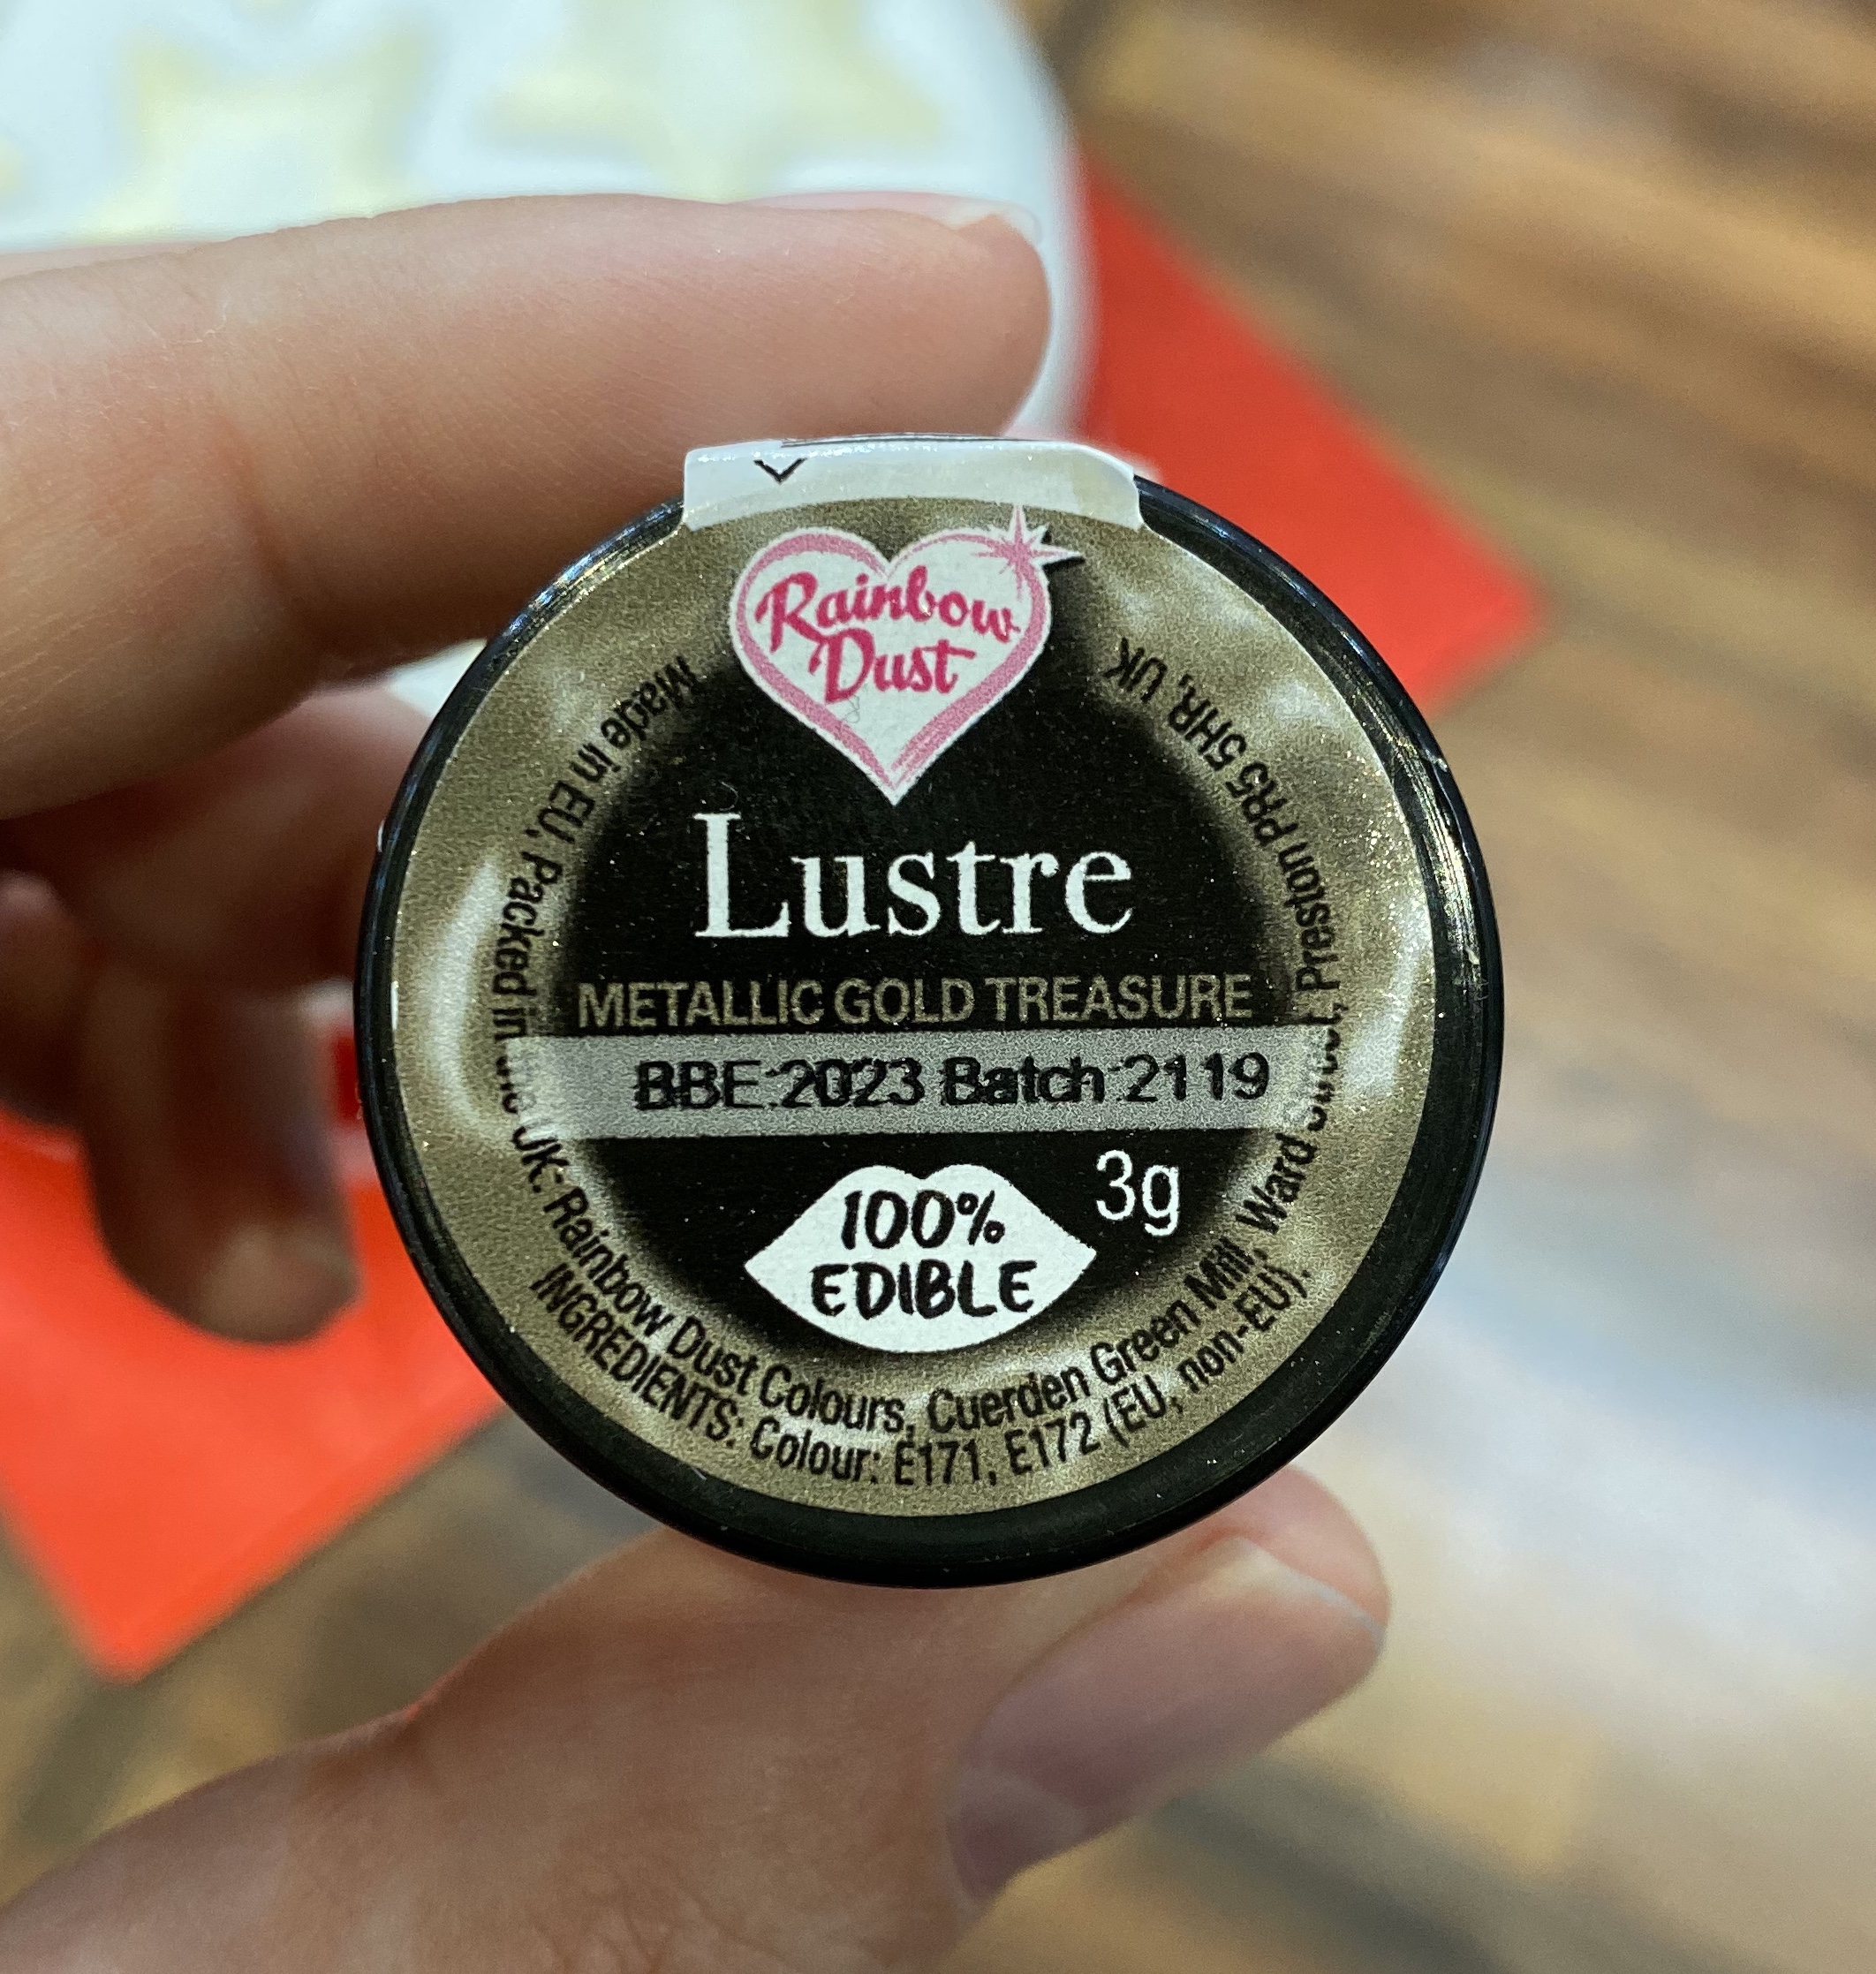
- And new for this year, some gold edible dusting powder (I got mine from Hobbycraft).
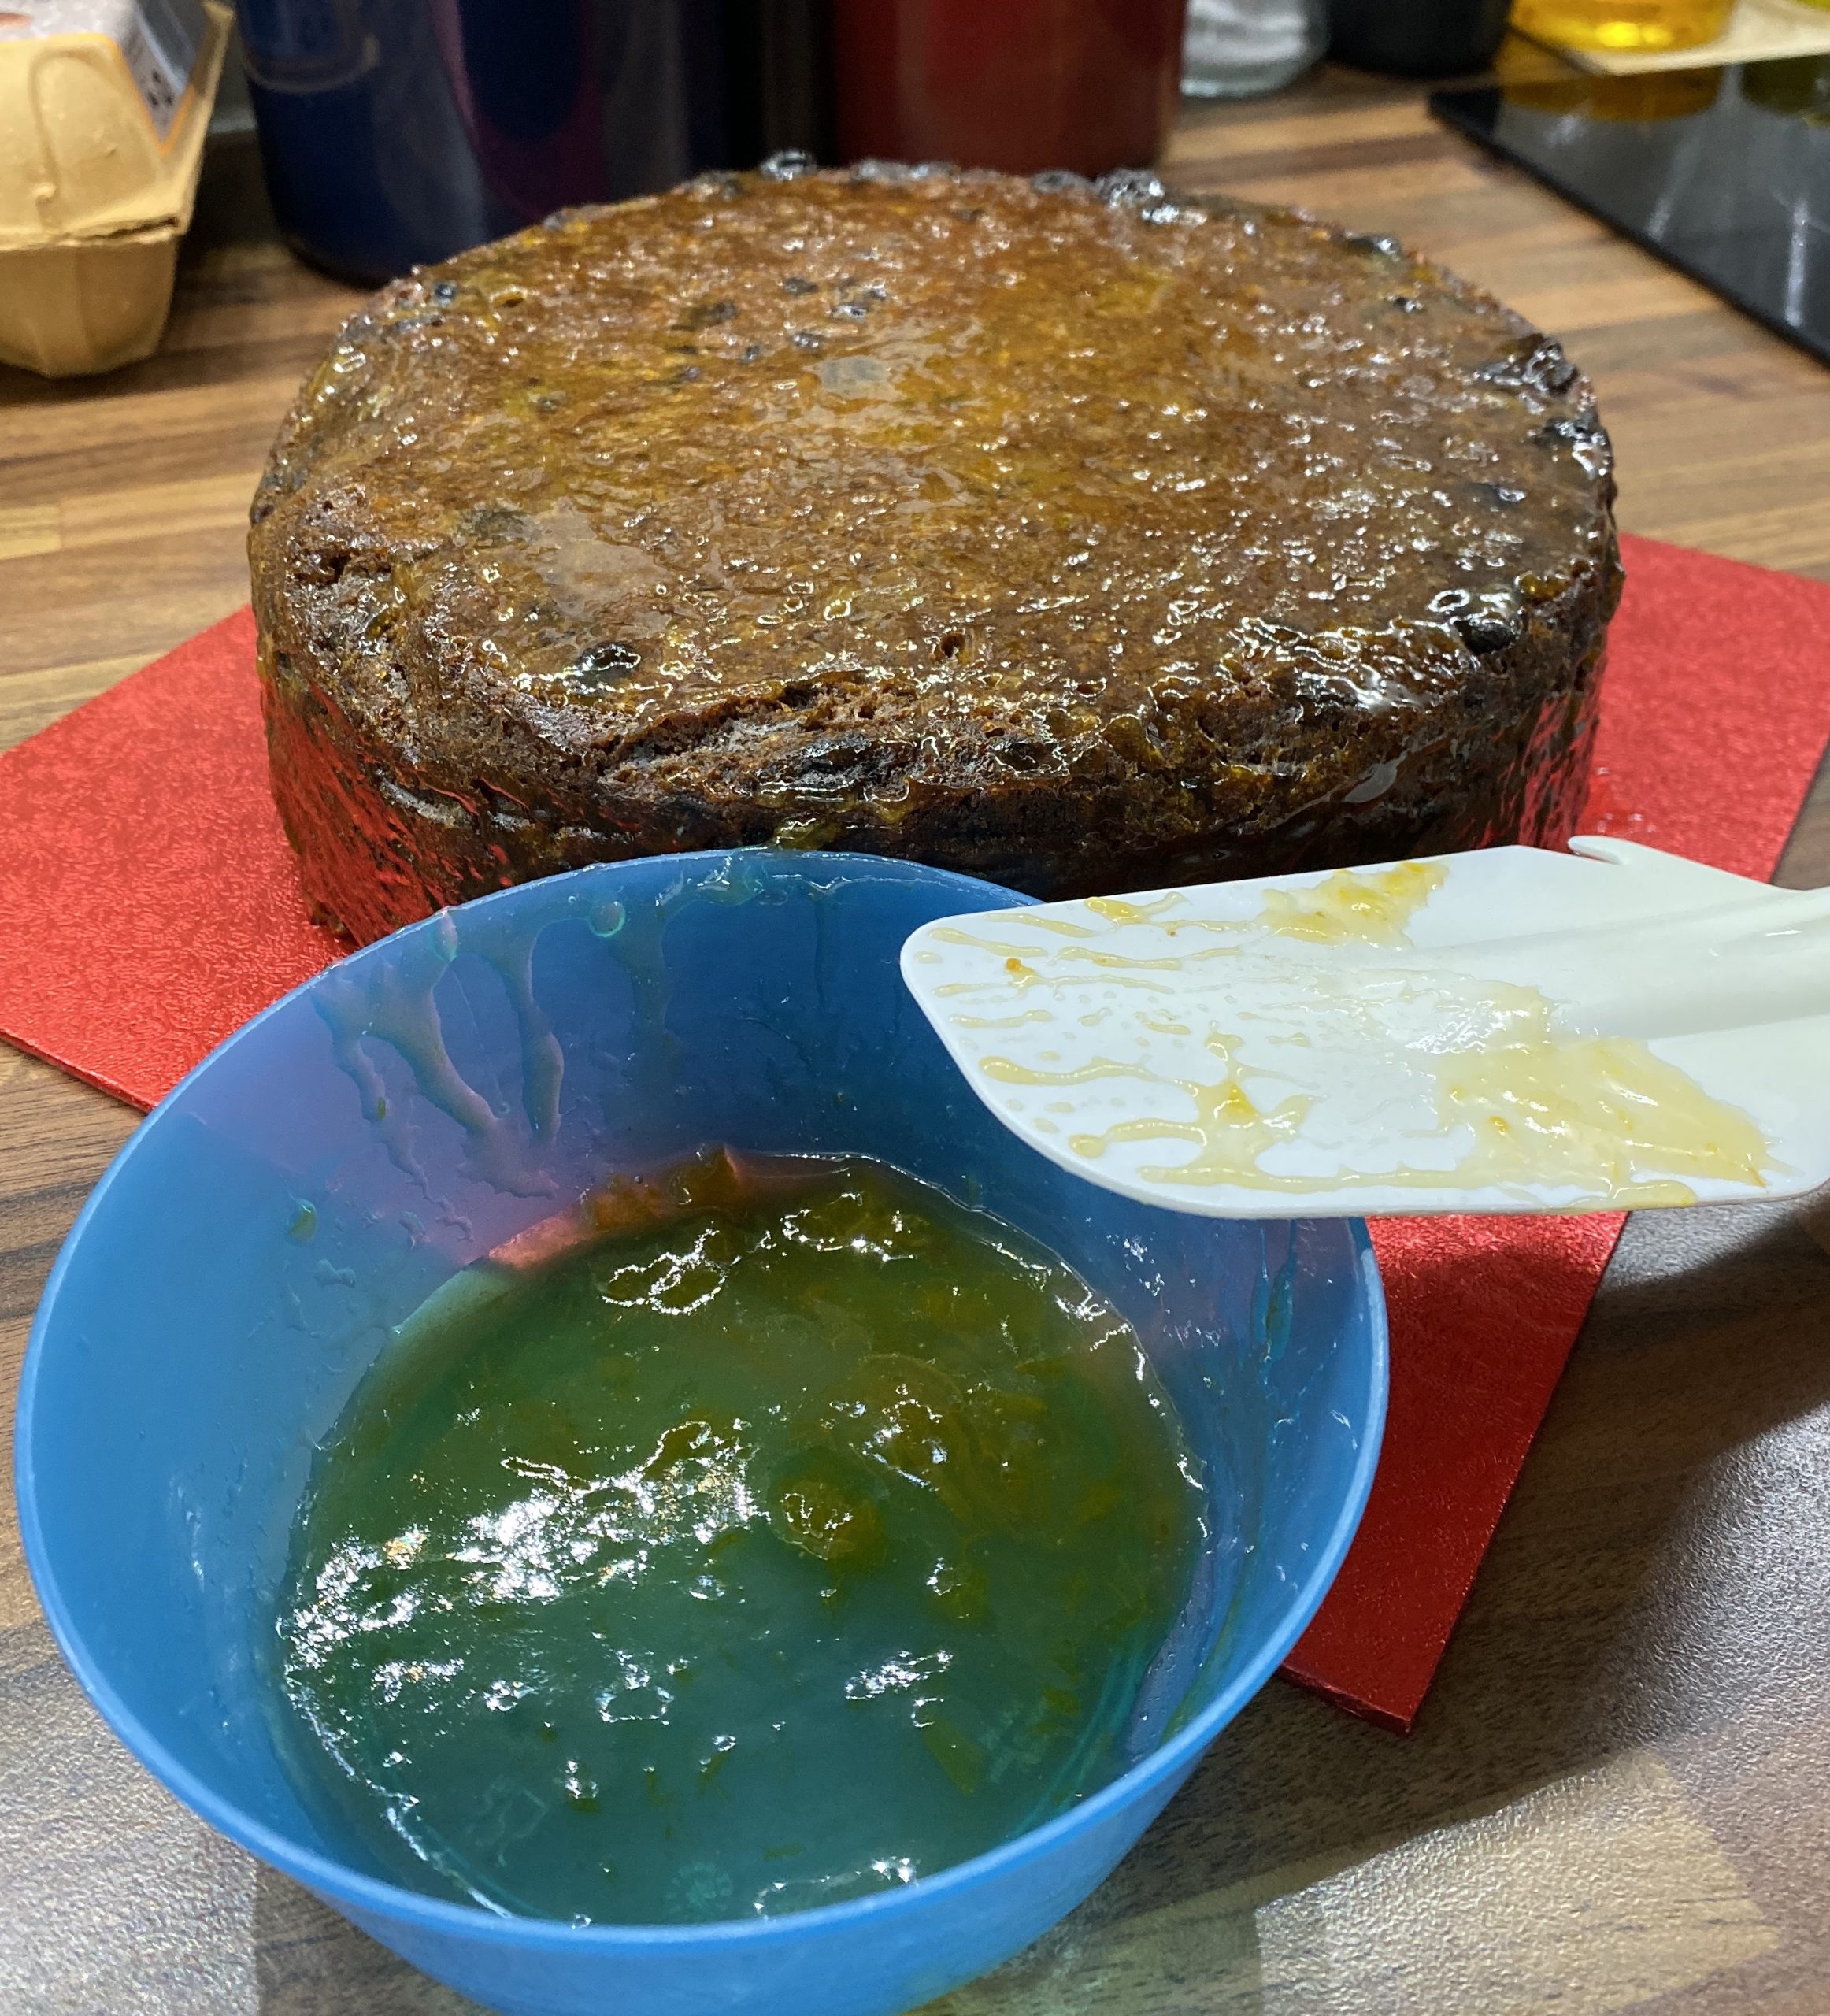
Now to start icing. After having placed the cake on the cake board, microwave a decent amount of jam for about 10 seconds (to warm it up so it spreads more easily). Try to avoid any chunks of actual apricot! Then carefully coat the cake in a thin layer of jam. This smooths out the surface a bit and helps the marzipan stick.
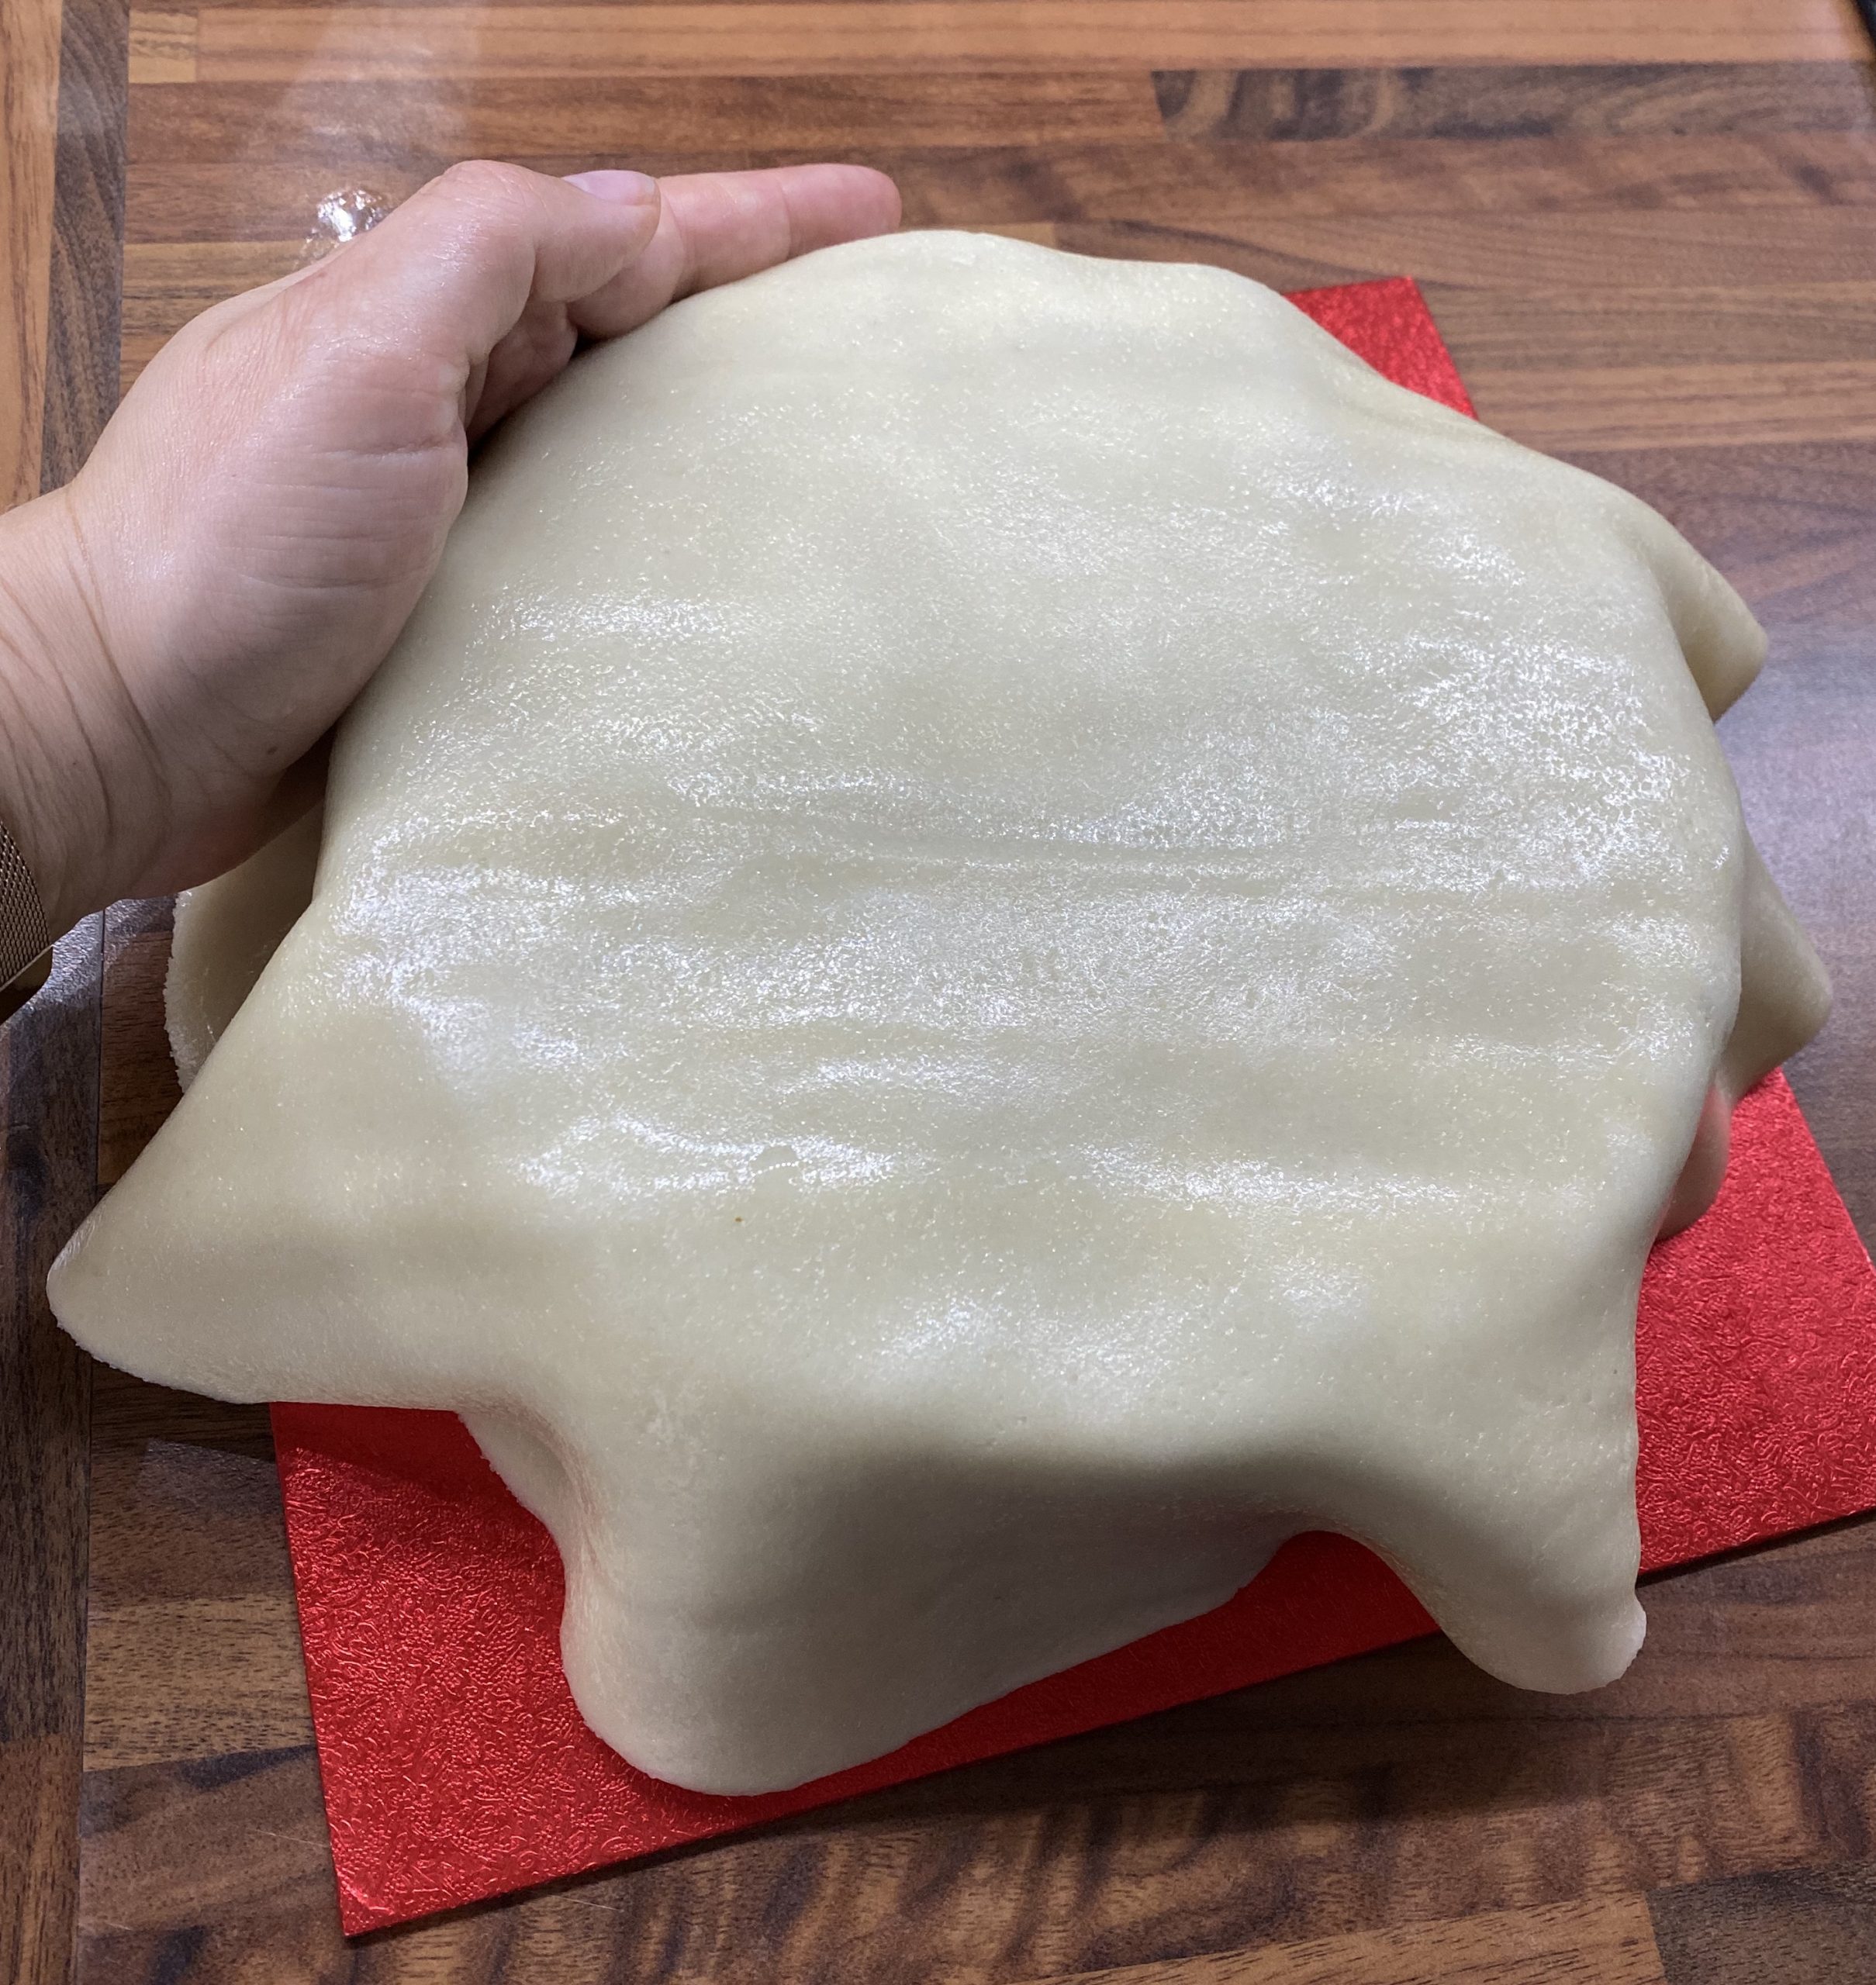
Next, you need to extract the marzipan from all the packaging – keep the plastic sheet for later. It’s quite useful. Drape the marzipan over the cake, trying to get it centred. Then using your hand smooth the marzipan over the edge and around the sides. My marzipan was quite sticky, so I wet my hand with cold water, so it slid round better.
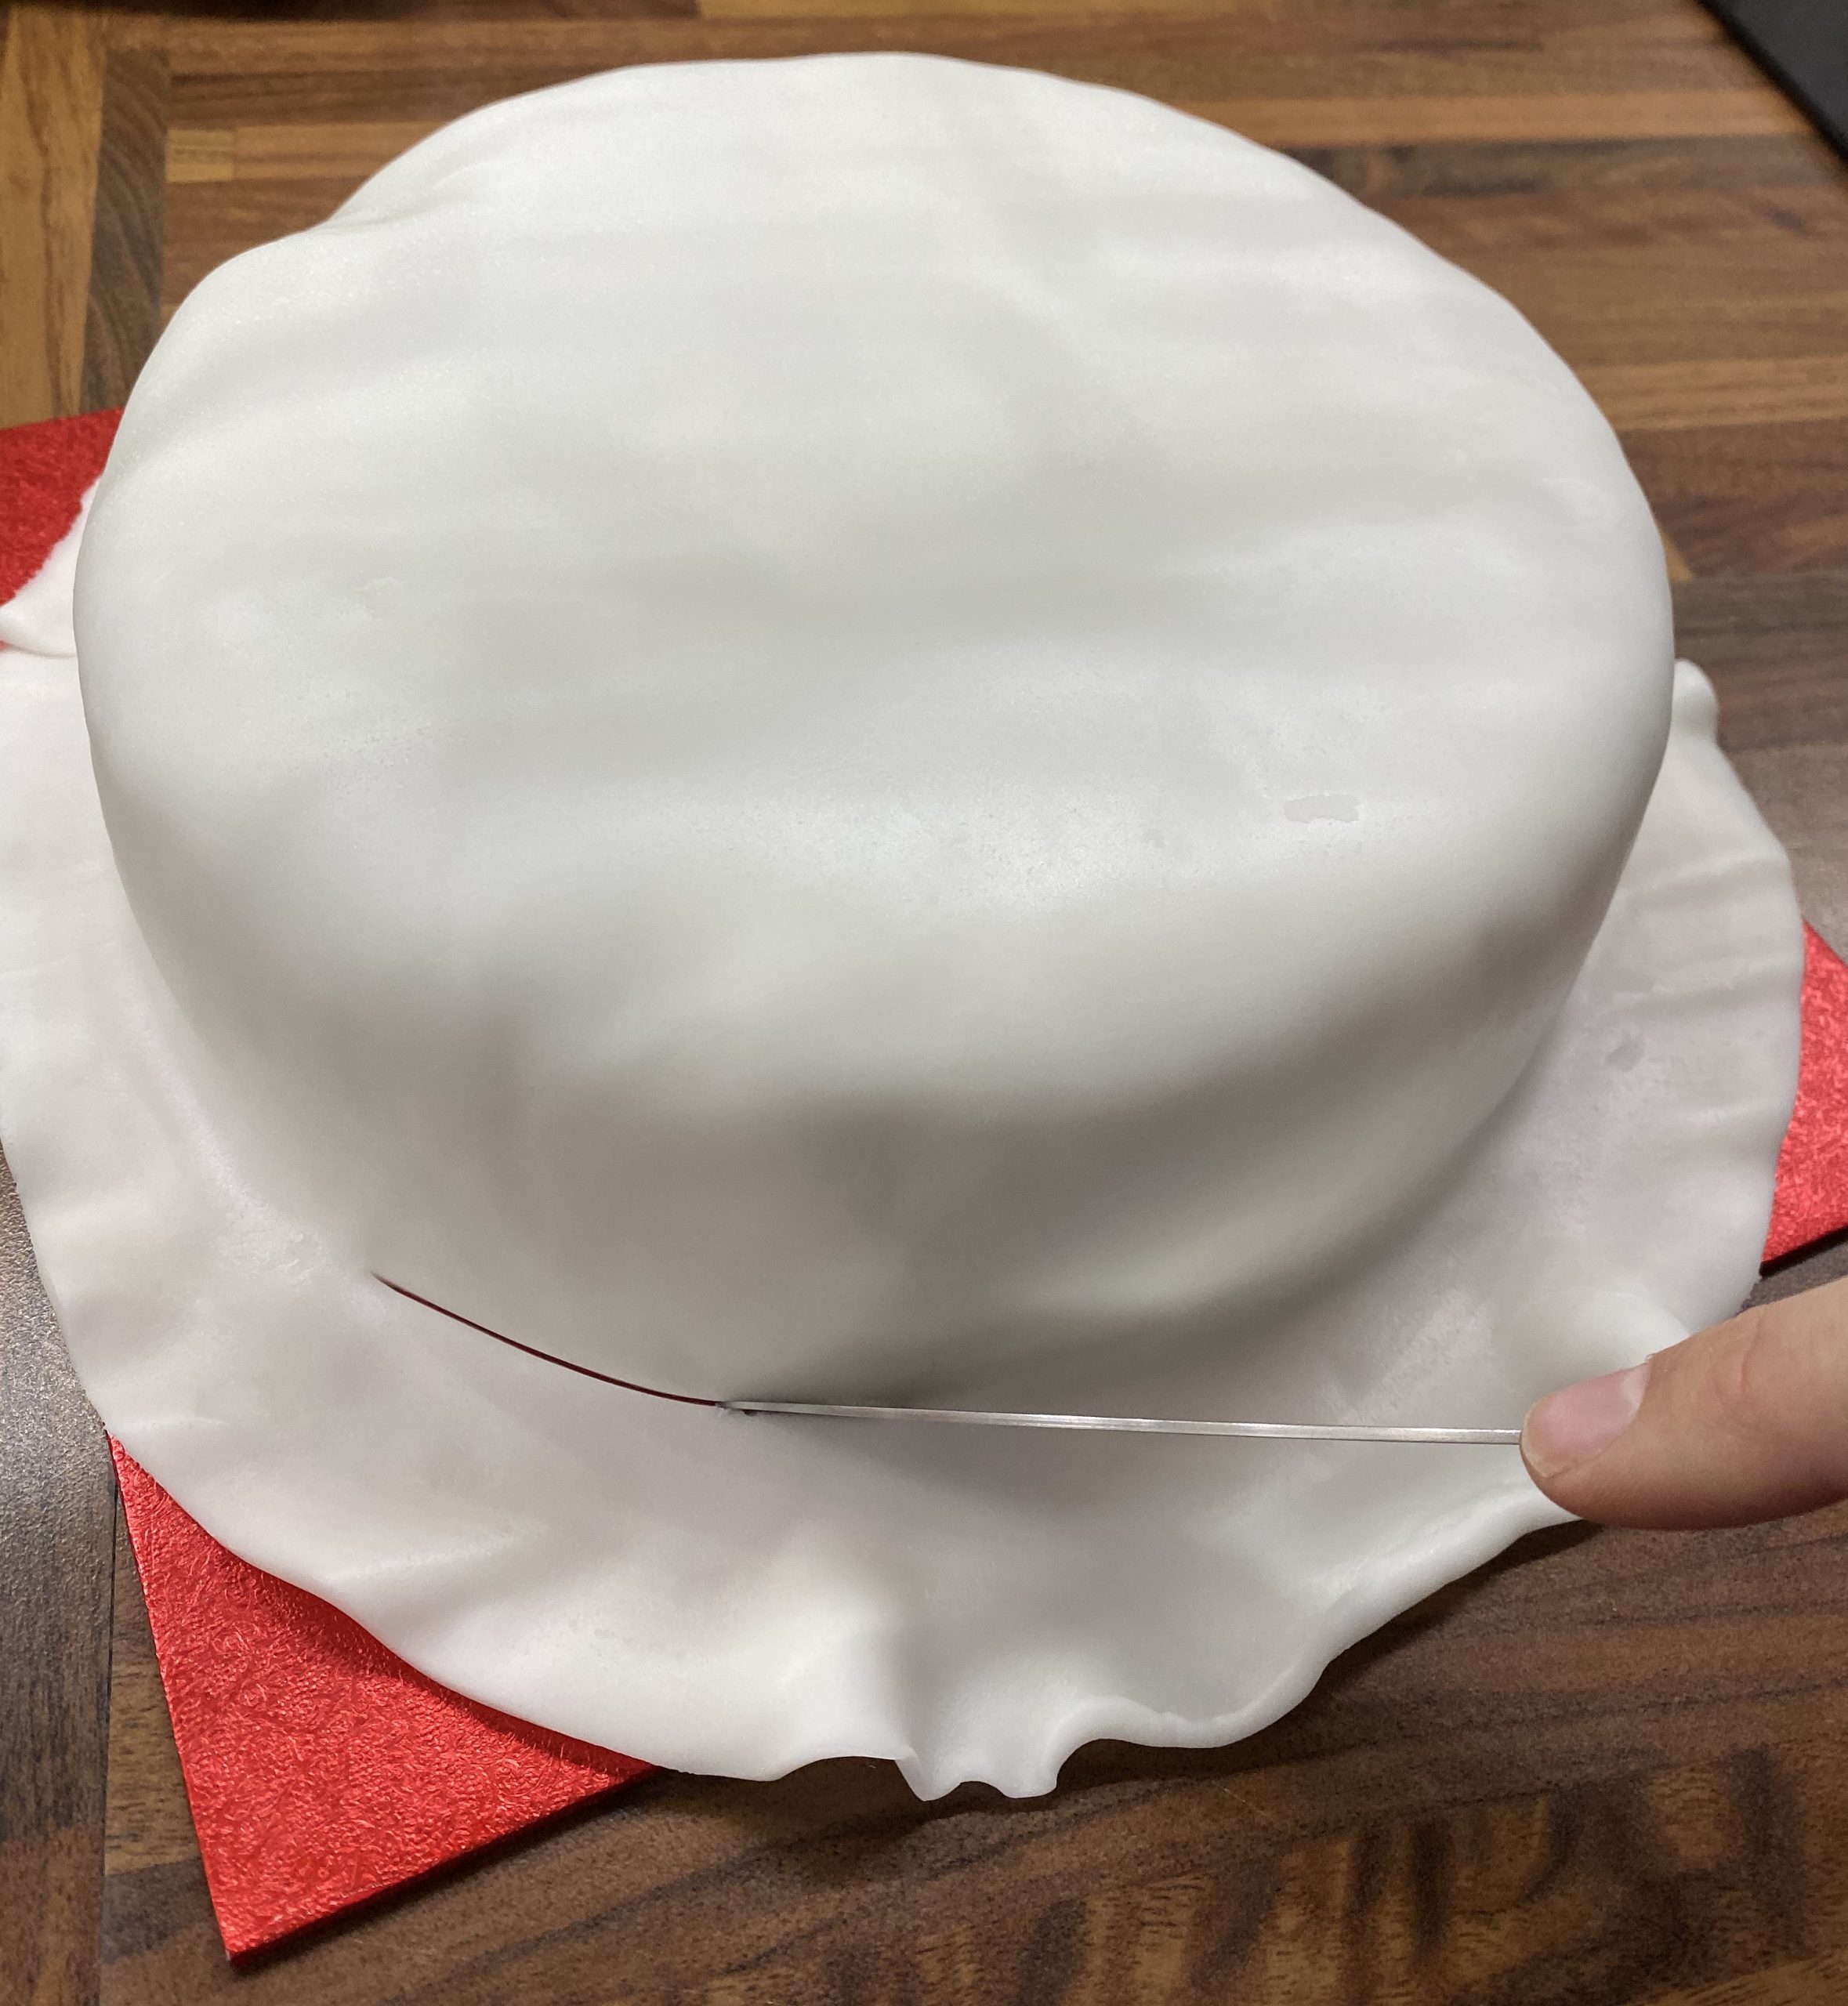
Trim away the excess with a sharp knife. I like to run a table knife around the bottom because it smooths out any rough bits.
Now repeat with the icing, no need for jam this time (as the marzipan is quite sticky!). Don’t wet your hand this time, or you will have a sticky icing disaster. Trim and smooth as before. Keep the leftover bits of icing, as you will need them.
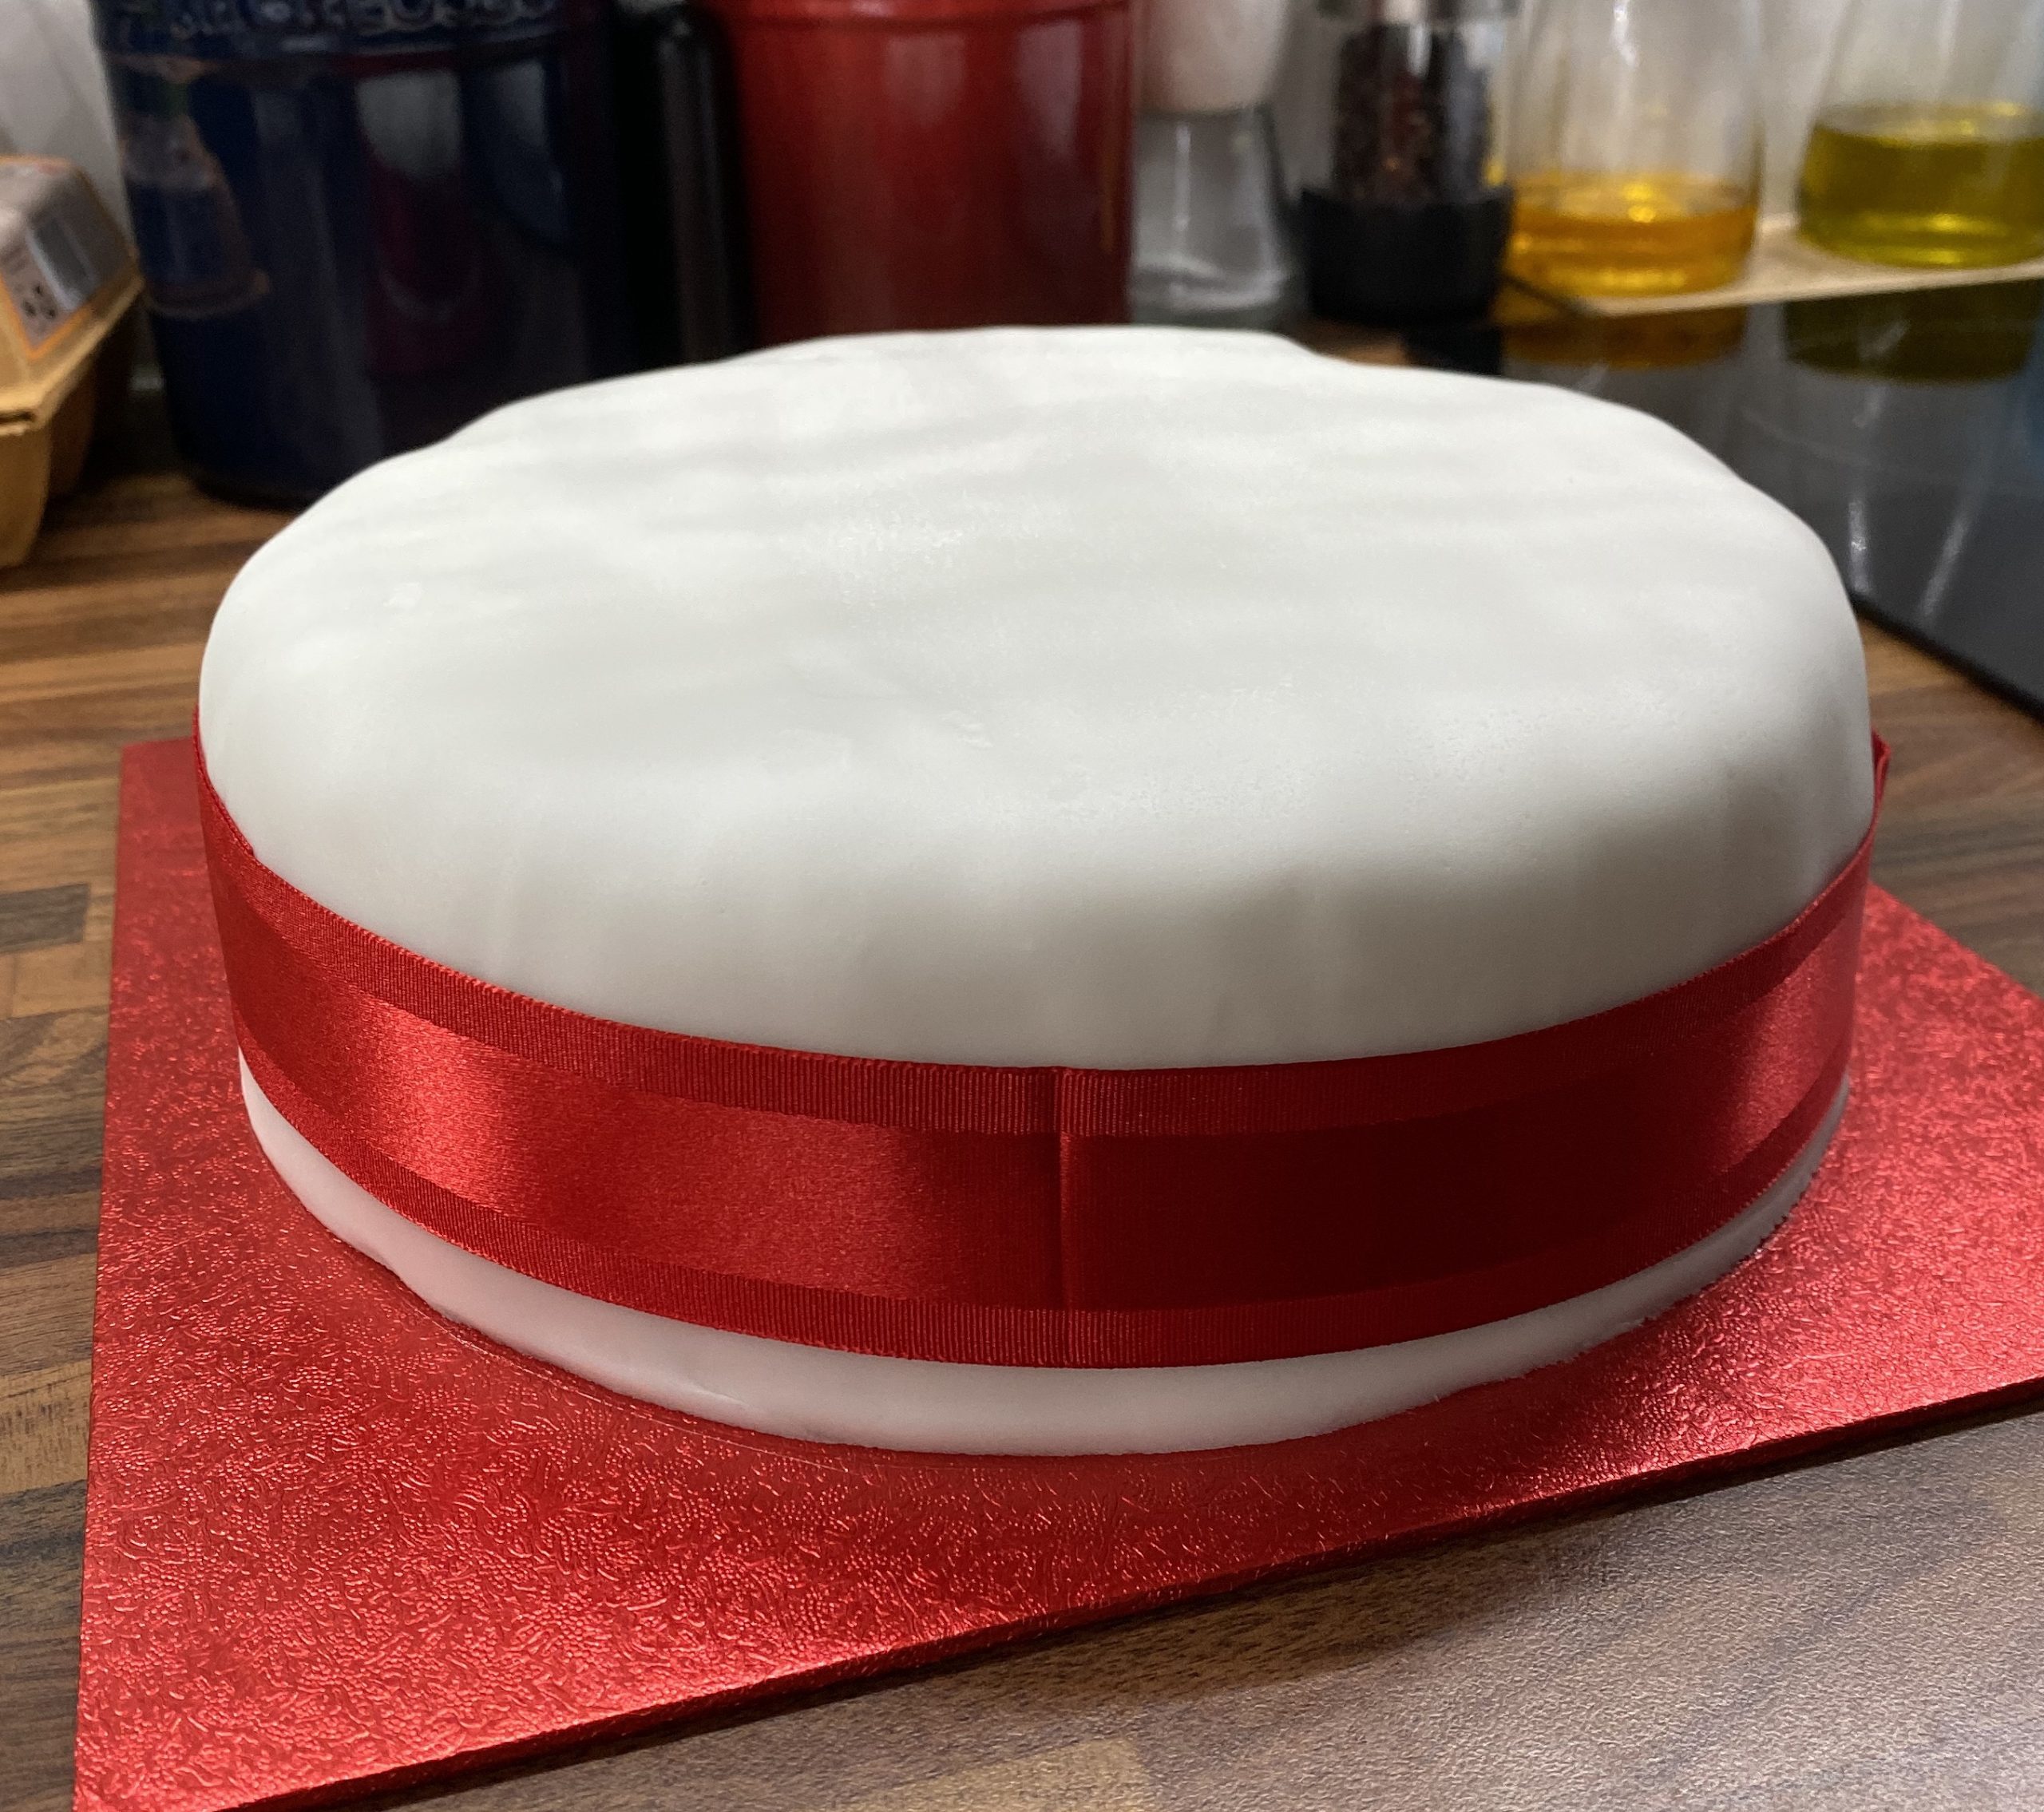
Then I added the fabulous ribbon that came with the base. I was very impressed that it had food-safe sticky tape on, so I could stick it on the cake! If you don’t have a fancy ribbon, then you can just stick extra stars round the edge.
Squish the leftover icing into a ball and flatten. Put it onto the plastic sheet the icing came in (see I told you it would useful later), fold the plastic sheet over and roll the icing flat. I used a rolling pin, but a wine bottle works just as well.
Using a star cutter, cut out 6 stars (or more if you want to overlap them).
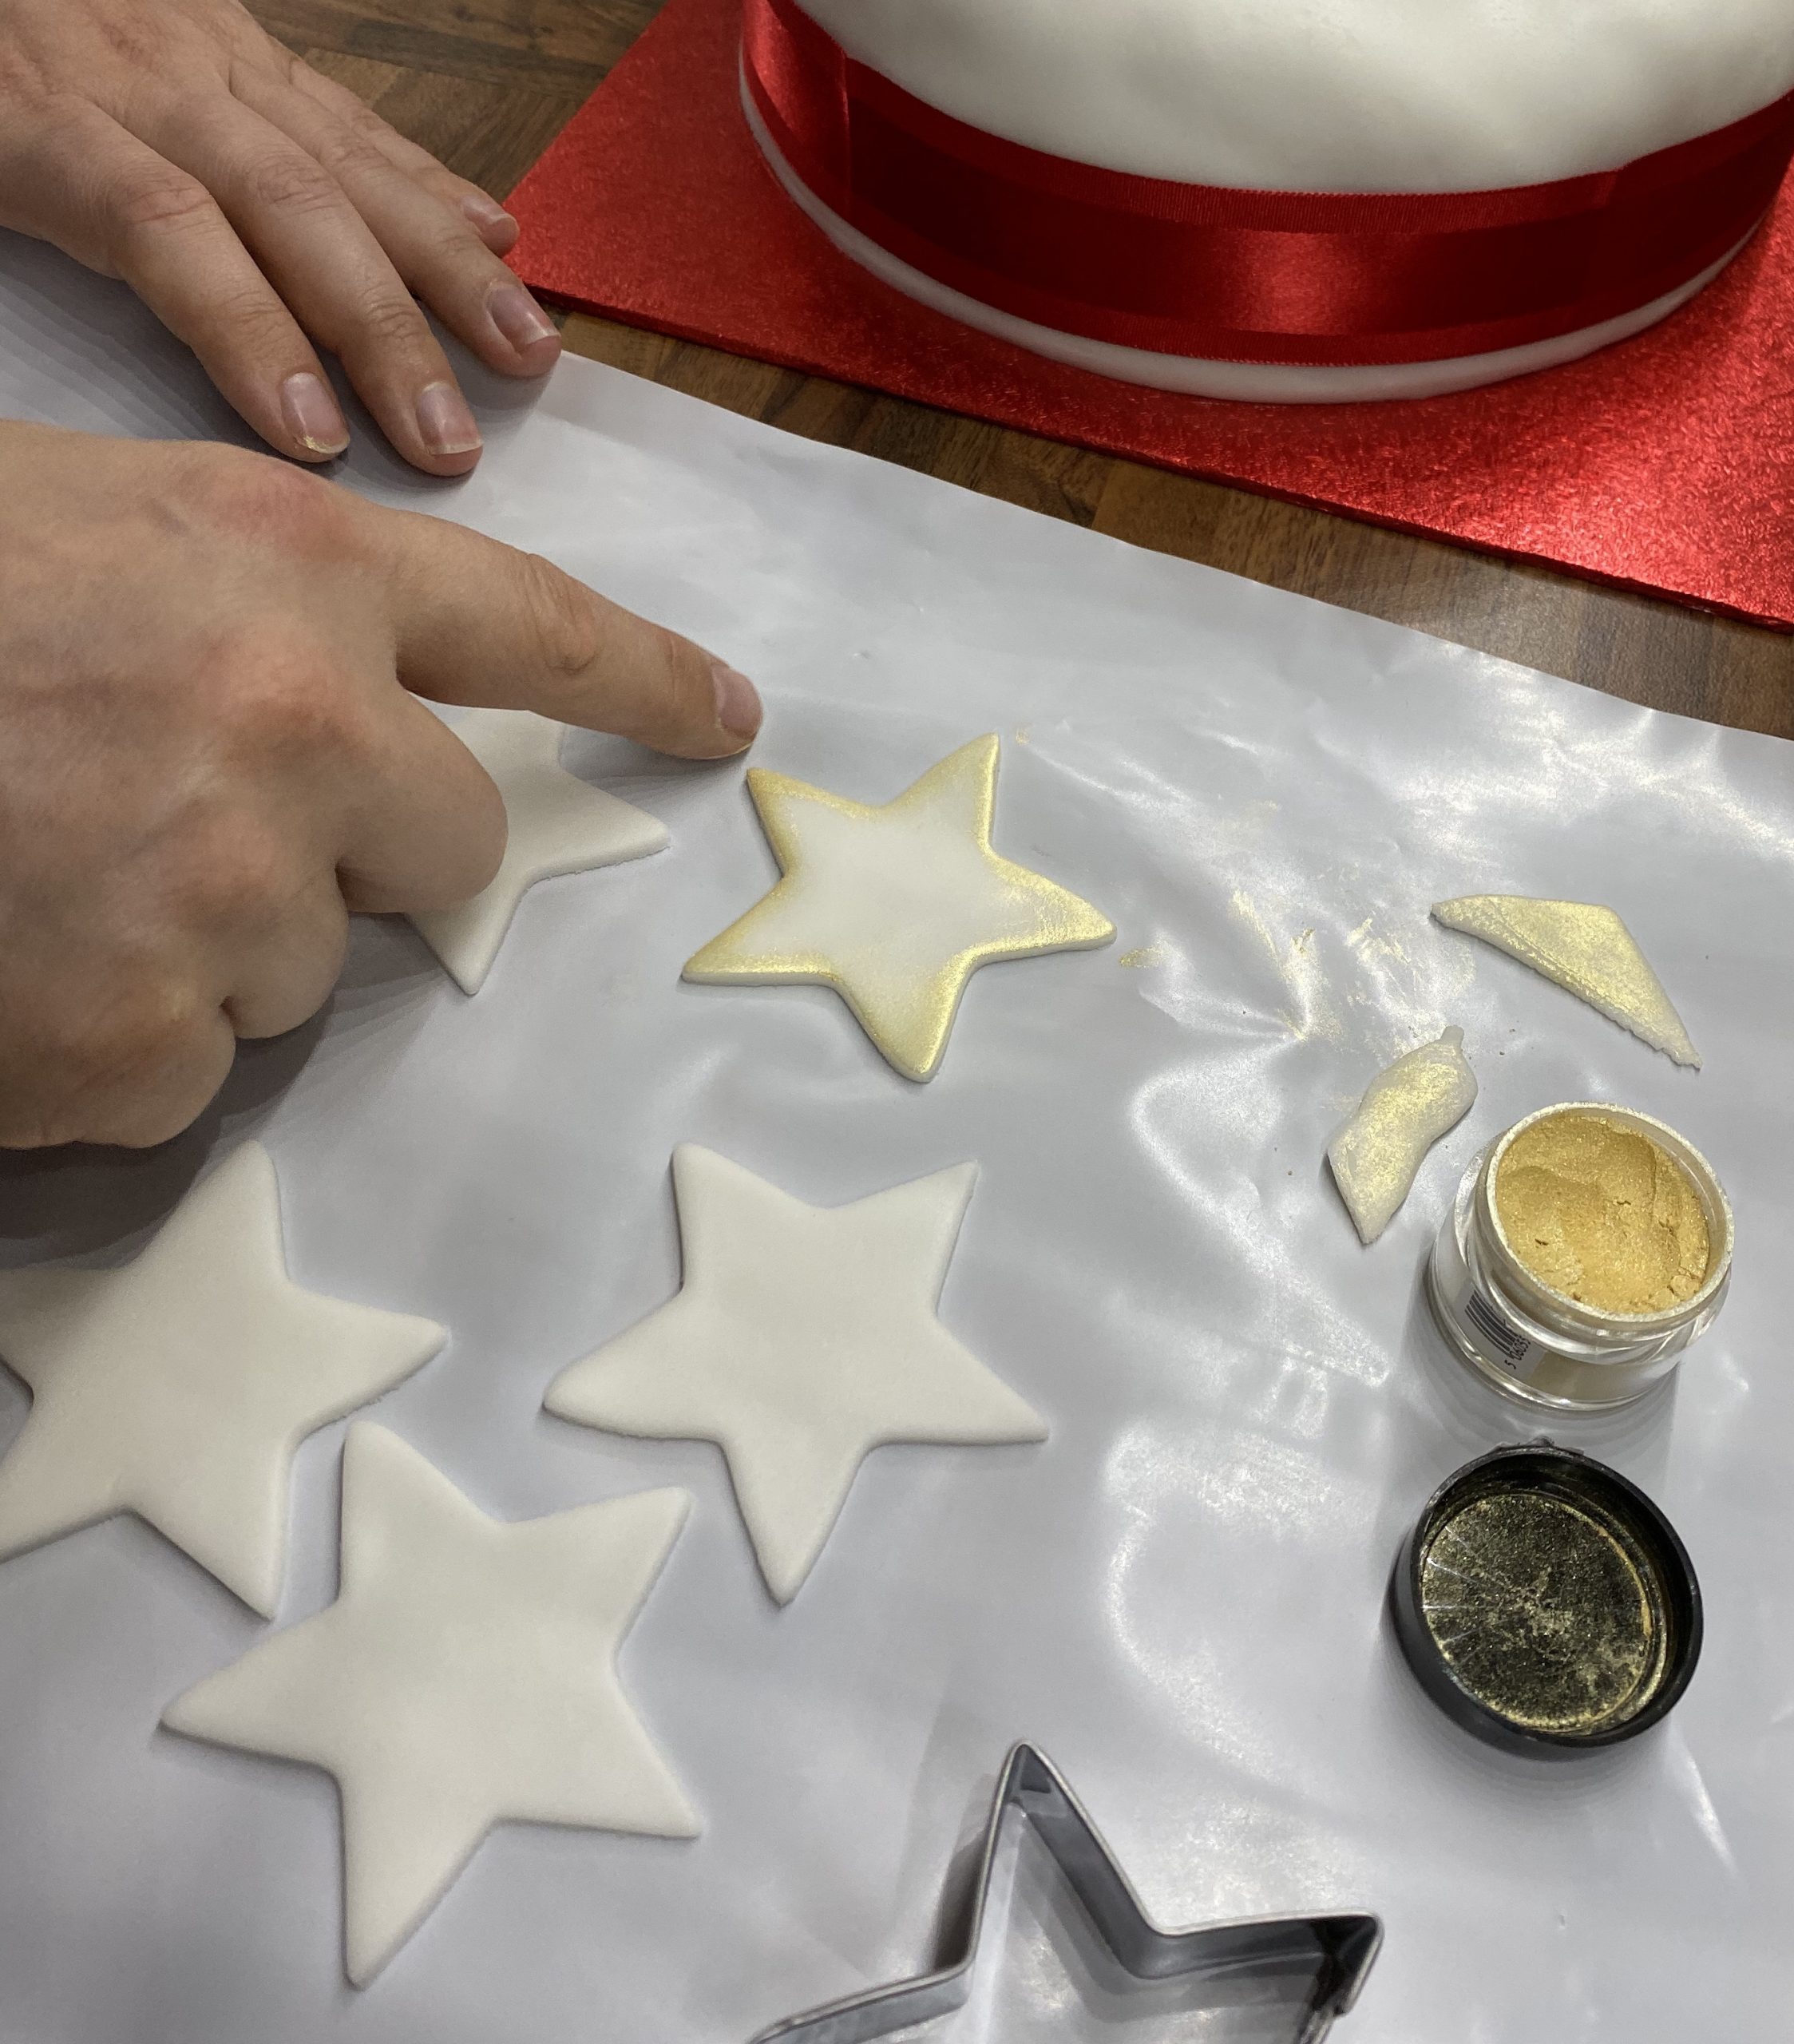
I used my finger to rub some of the gold powder into the stars, but this isn’t essential! Then place the stars onto the top of the cake.
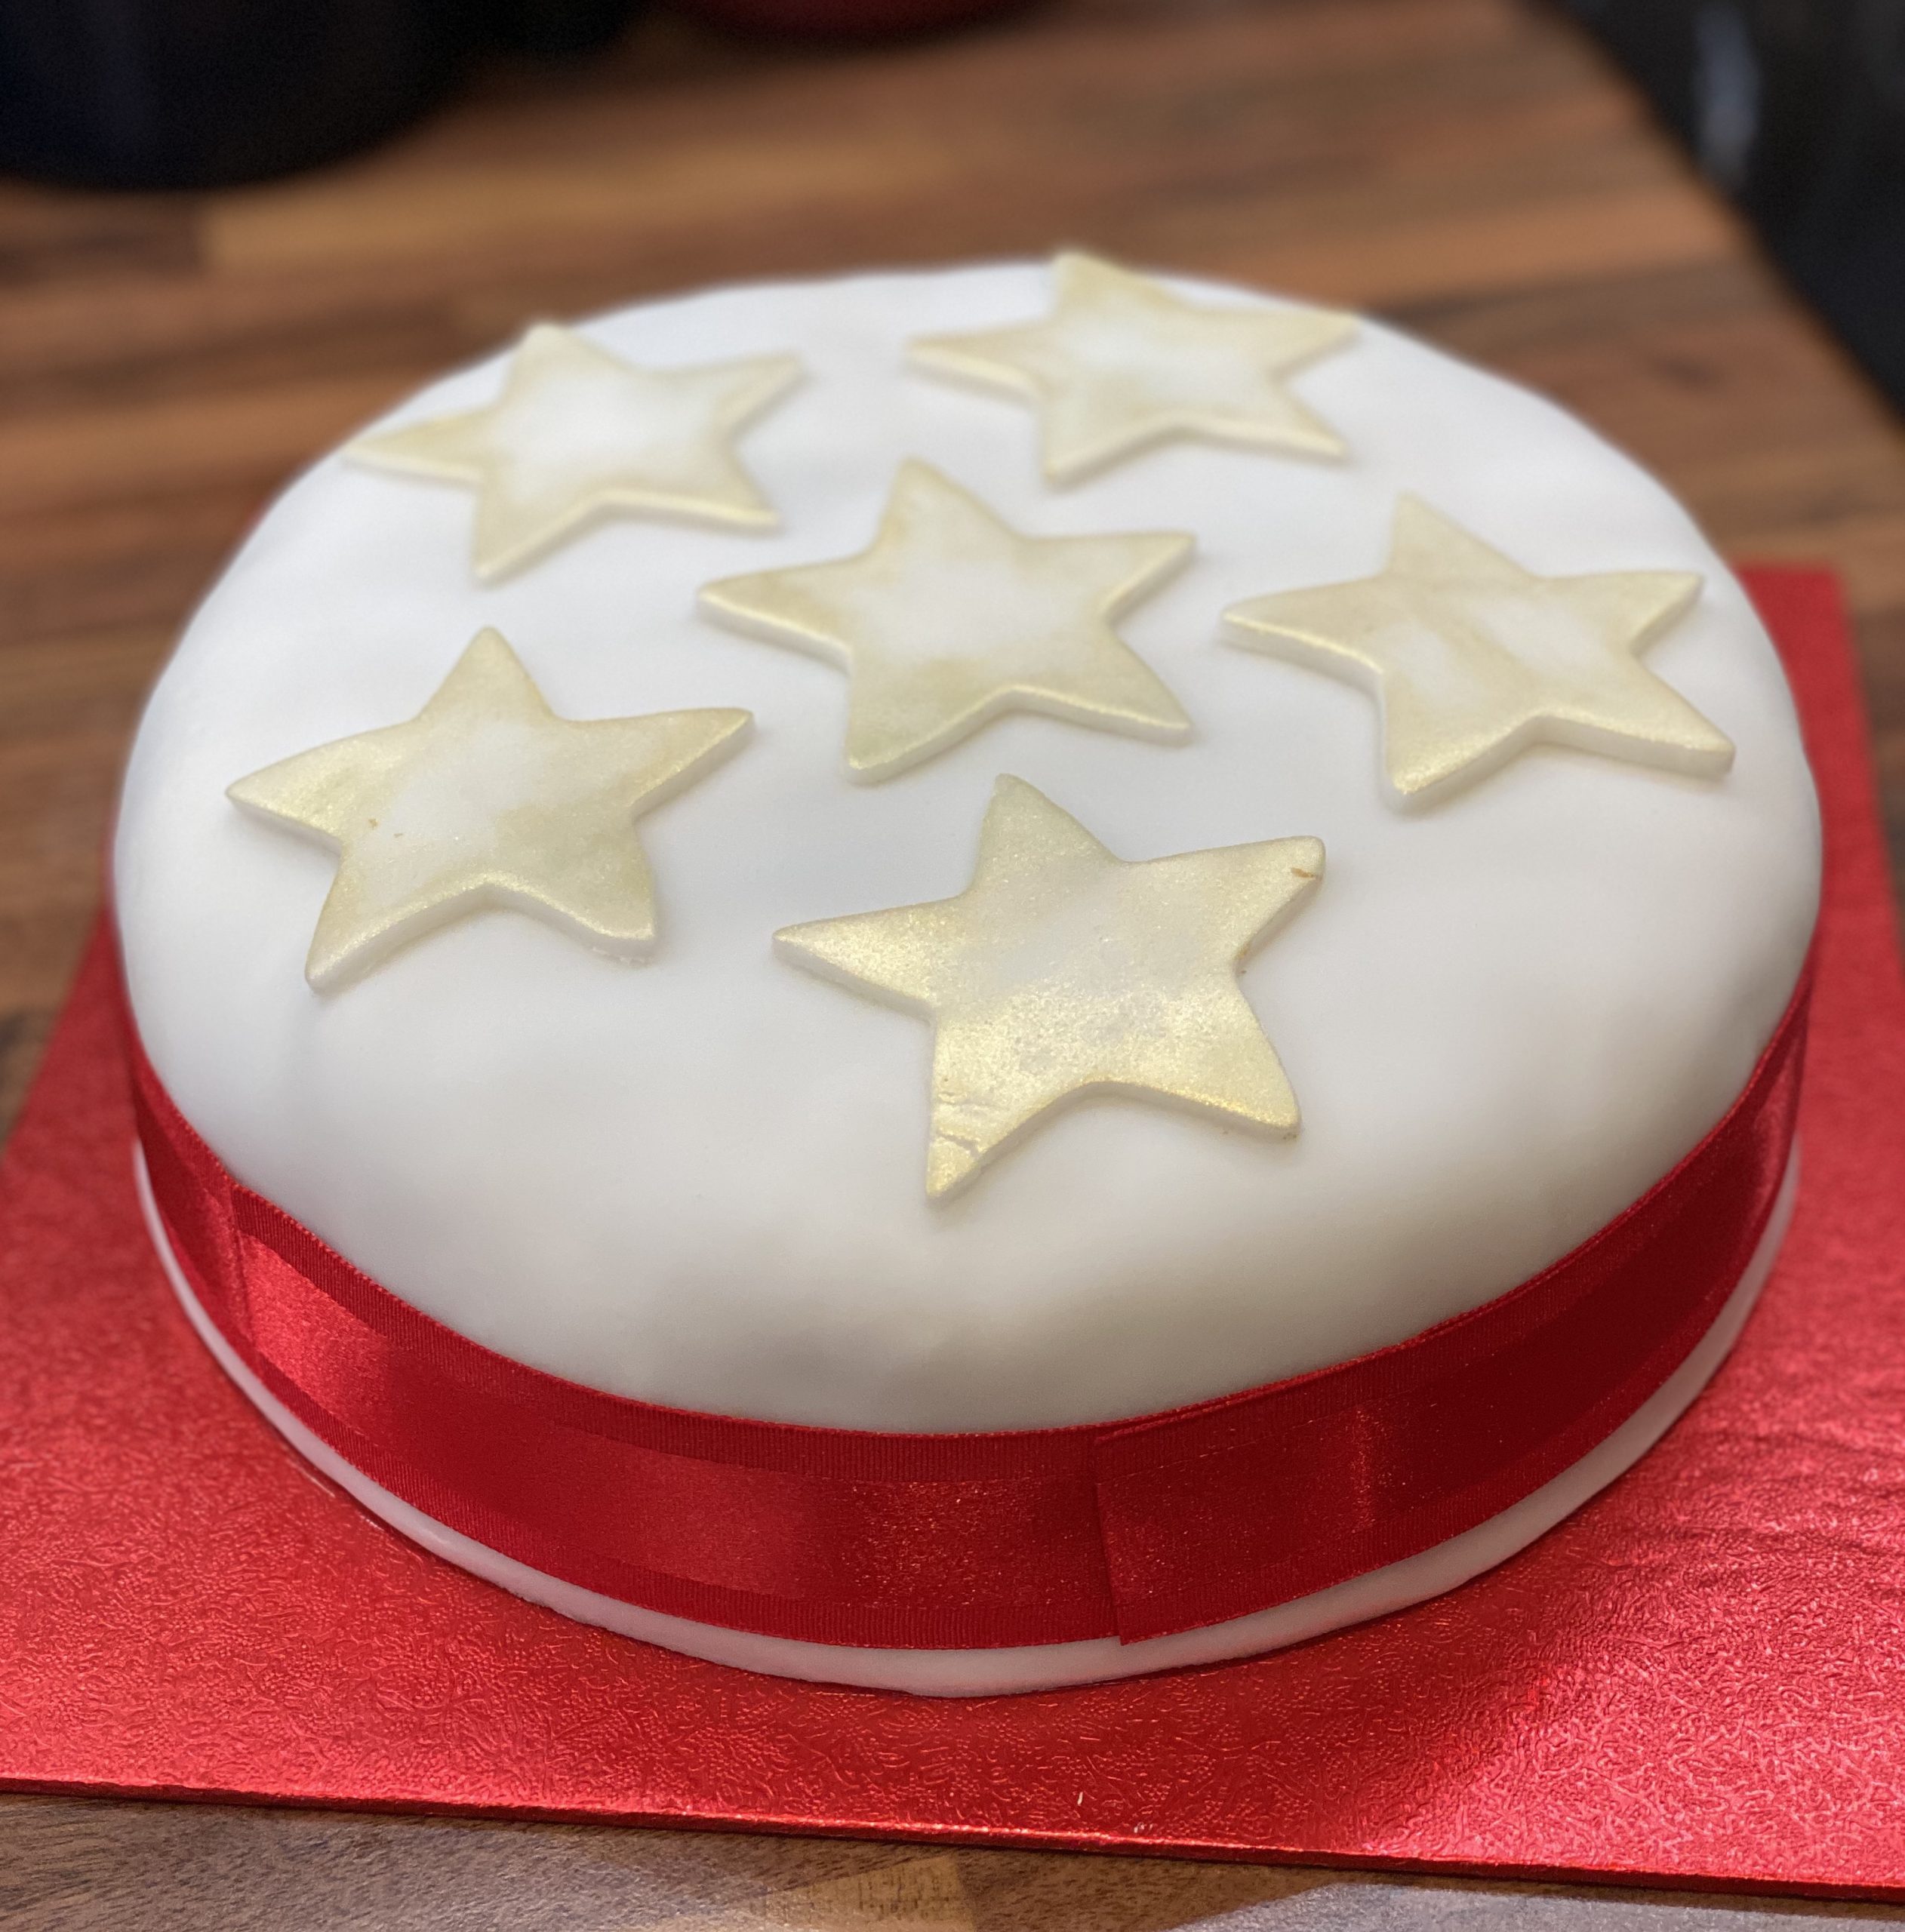
Et voila! Elegant Christmas cake, with hardly any equipment.