 Cooking
Homemade Bread
I love bread (to be fair, who doesn’t!), so this morning I thought I would bake a fresh loaf. I have a dough hook for my Kitchen Aid mixer, so I wouldn’t even need to knead it!
I’ve included the recipe below. Top tip for making bread in a Kitchen Aid is not to go above speed 2 on the side, otherwise, your bread starts climbing up and over the bread hook.
The actual making the bread doesn’t take too long, but you need to factor in the proving time.
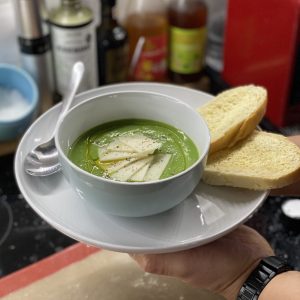
The bread was ready for lunch, just in time to have with some homemade broccoli soup (courtesy of my boyfriend).
Basic Bread (Dairy-Free)
Simple easy to make bread.
Equipment
- Kitchen Aid Mixer (optional)
Ingredients
- 500 g Strong Bread Flour
- 2 packs Easy Bake Yeast approx 14g)
- 30 g Pure Margarine
- 1 pinch Salt
- 500 ml Tepid Water
Instructions
Making the Dough
- Attach the dough hook to the KitchenAid.
- Put the flour in the Kitchenaid mixing bowl. Put the yeast on one side of the bowl and the salt on the other side of the bowl (otherwise the salt can kill the yeast). Add the margarine.
- Lower the dough hook and set the mixer on speed 2. The ingredients will start mixing together. Don't worry if the margarine doesn't look to be mixing in, it will eventually.
- Add the tepid water a little at a time until the mixture forms a ball of dough. You probably won't need all the water.
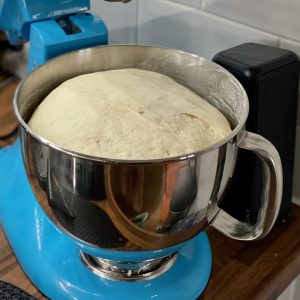
- Once you have a ball of dough, let the KitchenAid knead the dough for approximately 4 mins.
- Stop the Kitchen Aid and check the dough. It should be soft and elastic (you can check this by pulling on a piece of dough). If it isn't then let it knead for a bit longer.
Proving the Dough
- Once the dough is soft and elastic, remove the dough hook and cover the bowl with a clean tea towel. Leave the dough for 2 hours to prove.
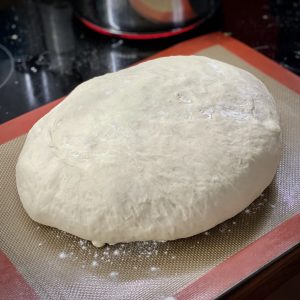
- After 2 hours the dough should have doubled in size.
- Knockback the dough and take it out of the bowl (you may need to gently scrape the sides). Gently knead the dough and shape it into the loaf shape you want.
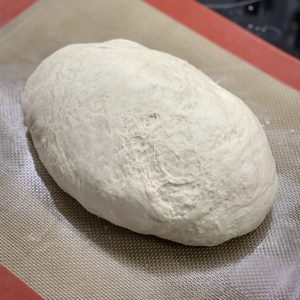
- Place the dough on a baking tray lined with baking parchment, you might want to use a Silpat.
- Dust the top lightly with flour and cover with clingfilm. Leave the dough to prove a second time until it has doubled in size again.
Baking the Bread
- Preheat the oven to 200°c and boil a kettle of water
- Add a few slashes to the top of the bread. You need to do this very quickly with a very sharp knife.

- Place the bread in the oven and pour the boiling water into the grill tray at the bottom of the oven (if you don't have a grill tray then put a heatproof bowl of boiling water in the base of the oven.
- Wait 20 mins, then check the bread. It should be golden brown. Turn the loaf over and tap the bottom, if it sounds hollow then it's done. If not then bake for 5 more minutes and then check again.
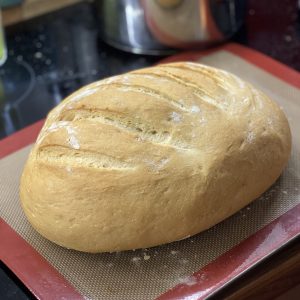
- Leave to cool and then slice with a sharp serrated knife