 Graphics
Glass Etching
When the new BYO (bring your own) shop opened in the local market I was quite excited to be able to buy my cupboard staples without having to contend with shop packaging. The premise is simple, you bring your own container, they weigh it, you then fill it with whatever you want to purchase and bring it to the container to pay for it. They weigh it again and subtract the original weight from the new weight – so you only pay for what you purchase.
We use the BYO shop to buy sugar, pasta, rice, salt, oil and now laundry detergent.
I’ve been using a set of Kilner jars to hold my dry goods. They are airtight and wash really well. Plus they nest inside my cupboard very nicely! However, the Sharpie written labels rub off really easily.
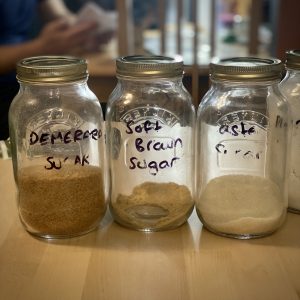
So I decided to make some more permanent labels. I read about using reversed vinyl decals and Armour Etch to etch onto glass, it sounded fun so I thought I would have a go!
I started by making some reverse vinyl decals on my Cricut (well my school’s Cricut – one day I will own my own). A reverse decal is one where the image you want is removed (weeded).
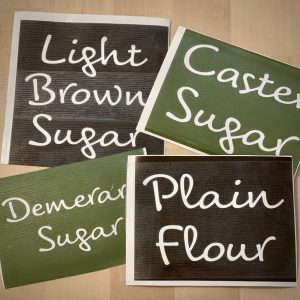
I then cleaned the outside of my glass jars really well with window cleaner and applied the vinyl decal. I made sure it was really well stuck down, especially on the edges of the letters.
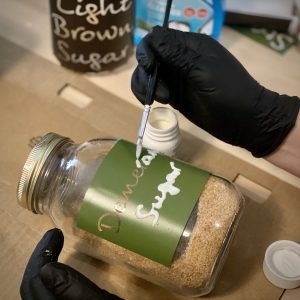
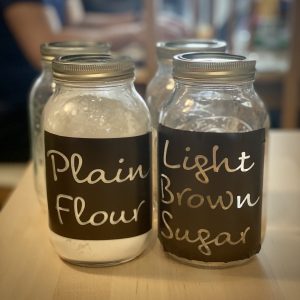 I then put on some protective gloves and after shaking the Armour Etch really well, I used a paintbrush to apply an even reasonably thick layer over the letters. After 15mins I washed off the Armour Etch with cold water and peeled away the vinyl. I was really pleased with how easily the vinyl peeled off the glass (I was concerned that it wouldn’t). After a final wash and dry the Kilner jars were finished!
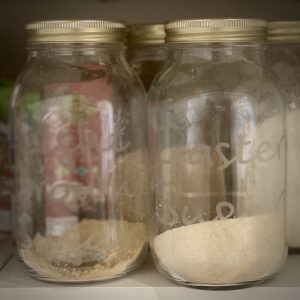
Ironically, the finished jars are really hard to photograph but they do look very good. The etched glass has a matt/satin look to it, which contrasts with the gloss of the glass.
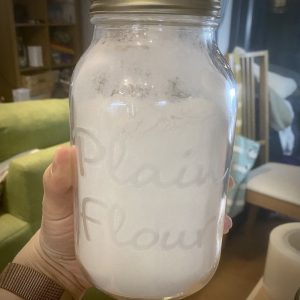
Although based on the jars in my cupboard, it looks like I need to go to the BYO shop soon.
